Company Schedule
Using this section, you can create following schedules for the Company -
Screen Layout of Access Schedule
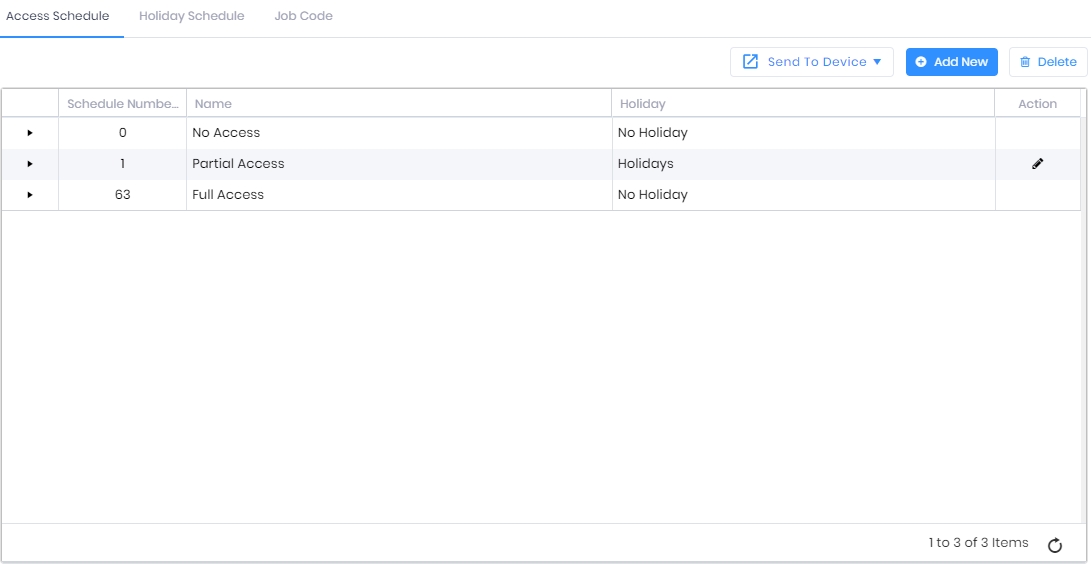
The Employees configured on the Device have the right to access the facility. However, the administrators can control the access of any enrolled Employee to the facility for a specific duration. Administrators can restrict enrolled Employees based on weekends, holidays, day time, night time, etc. The Access Schedule feature has been provided for creating these access windows for different Employees.
Access Schedules are created to provide Employees access for a specific period. The administrator can define an Access Schedule in the company schedule and transfer those schedules to a particular Device. Each Device can have a maximum of 64 Access Schedules.
IXM Devices are provided with 2 default Access Schedules which will automatically appear in the list while enrolling users -
-
No Access
-
Full Access
The feature involves three steps -
-
Creating Access Schedules
-
Transferring Access Schedules to Devices
-
Enabling Access on the Devices
Field Description of Access Schedule
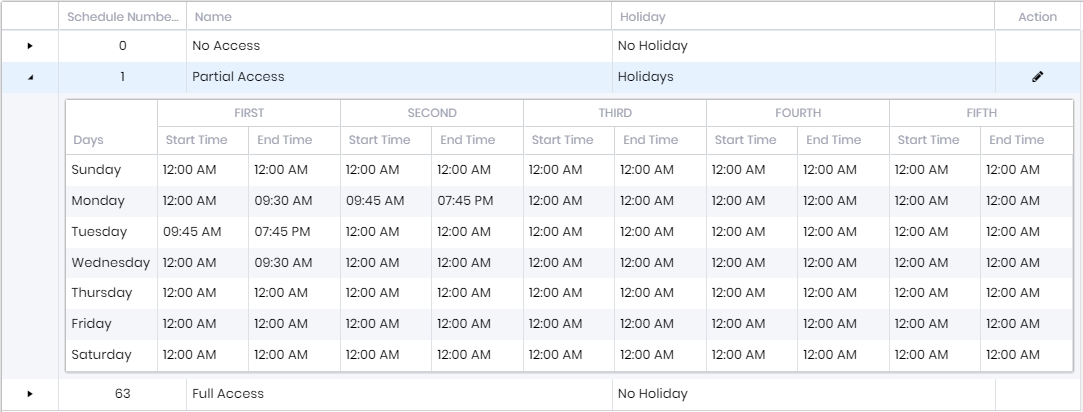
As you can see, two default Access Schedules are already provided. Click on the small arrow in the first column of row to expand and view the "Time Schedule" of that Access Schedule as follows -

|
Please note that you can not Delete or Edit the default Access Schedules. |
To add a new Access Schedule, click on  button on the top right corner of the screen.
To edit a particular Access Schedule, click on  icon in the Action column of the respective Access Schedule row.
Following screen will be displayed -
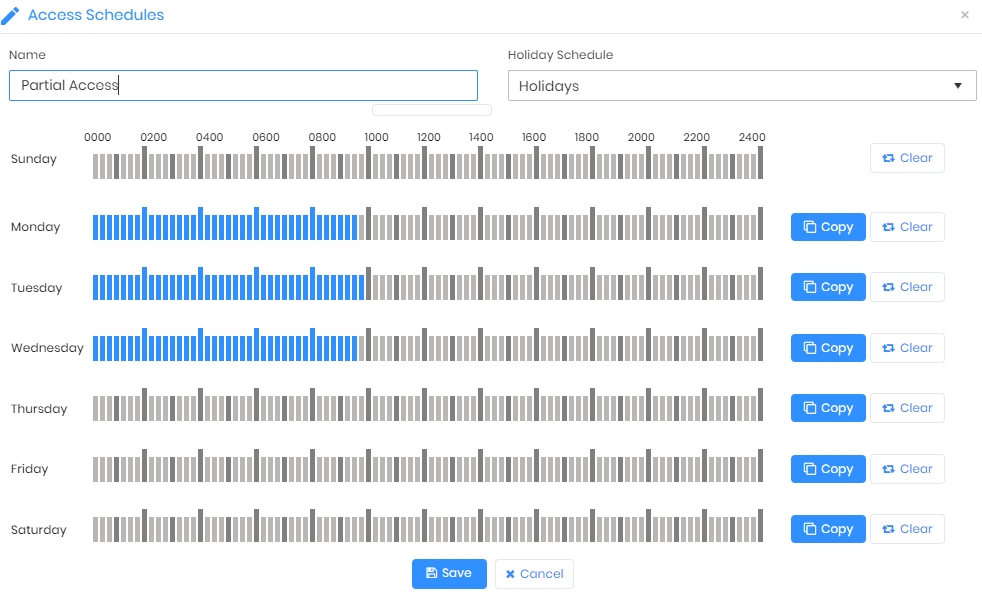
Name:
Enter the Name of the Access Schedule.
Holiday Schedule:
Click on the box to access a list of Holiday Schedules created through Company Schedule >> Holiday Schedule option. Select the Holiday Schedule from the dropdown list.
Select "No Holiday" if there is no Holiday Schedule.
Now, click and drag the cursor to select the “Schedule Time” for each day as per requirement.
You can also copy the selected Schedule Time of the previous Day to the current Day by clicking on  button on the row of current Day. For example, you can copy the selected Schedule Time of Tuesday to Wednesday.
Clear the selected Schedule Time of a particular Day by clicking on ![]() button on the row of that Day.
button on the row of that Day.
Click on Save button to save the Access Schedule.
|
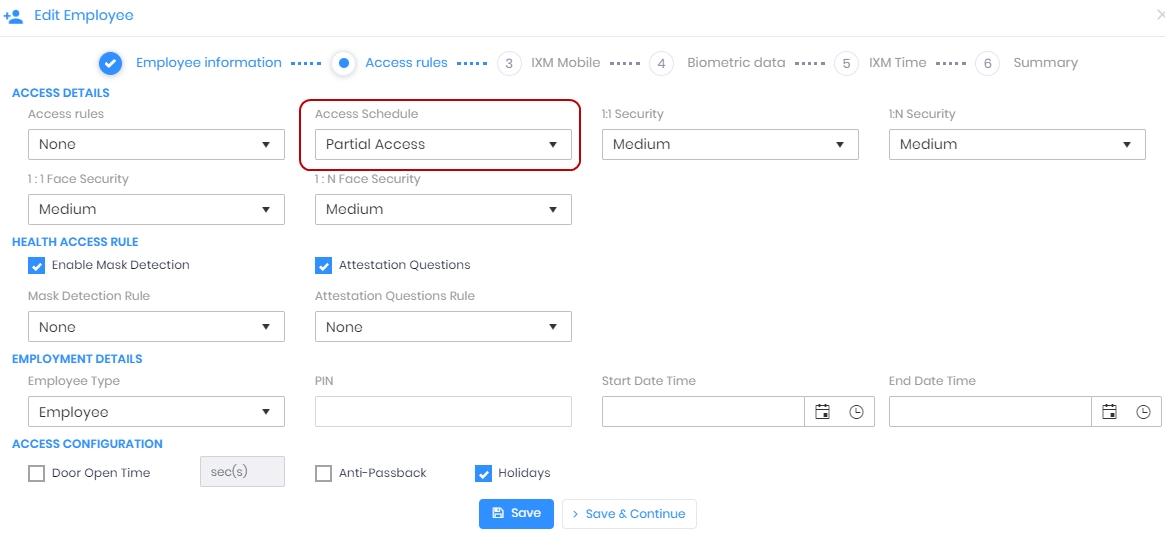
NOTE Newly saved Access Schedules will be available in the "Access rules" tab while enrolling or creating a new Employee from Home >> Employees >> Add Employee section.
|
Click on Cancel button to discard the action.
Click on  button on the top right corner of the screen to delete selected Access Schedule(s). The application will display a confirmation message as follows -

Click on OK button to delete the selected Access Schedule(s) from the Device and IXM WEB.
Click on Cancel button to discard the action.
Hover the mouse on  button on the top right corner of the screen. Click on Selected option to transfer selected Schedule(s) to the Device or All to transfer all Schedule(s) to the Device.
Following screen will be displayed to select the Devices -
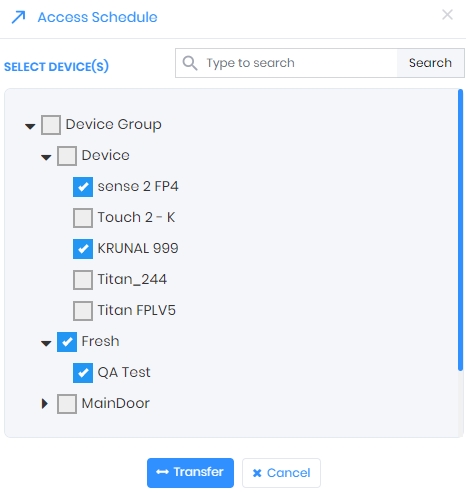
Click on the arrow keys to expand the Device Group and select the desired Device(s) by clicking on the checkboxes.
Once selected, click on Transfer button to transfer the selected/all Schedule(s) to the selected Device(s). Click on Cancel button to discard the action.
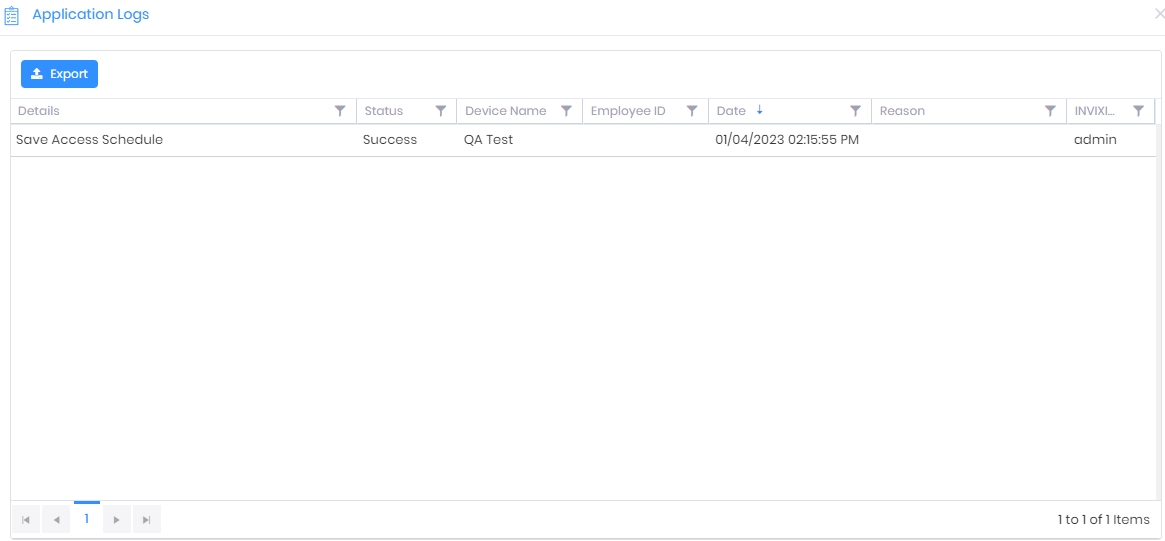
Upon completion of the process, the “Application Logs” window will show a success or failure message -

|
Screen Layout of Holiday Schedule

Holiday Schedules can be configured to restrict Employee access during holidays. Each premise has a holiday list for the year depending on the country. Administrators can restrict user access to the premises on these holidays. Holidays may be set for half-day, one day, or more than a day. Unless the Access Schedule is applied to the Device, Holiday Schedules will not be in effect during holidays.
Field Description of Holiday Schedule
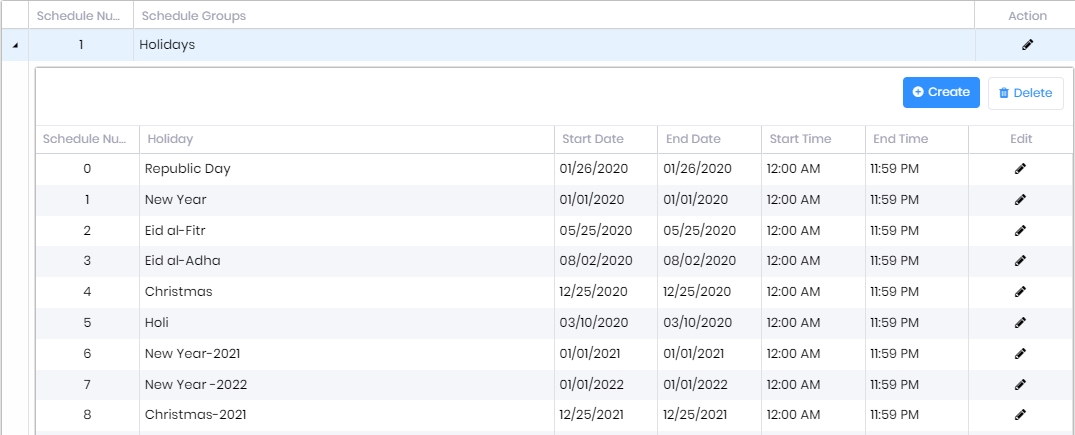
A list of already created Holiday Groups will be displayed. In case not a single Holiday Group has been added yet, this list will be blank. Click on the small arrow in the first column of row to expand and view the "Holidays" of that Holiday Group as follows -
To add a new Holiday Group, click on button on the top right corner of the screen.
To edit the name of a particular Holiday Group, click on icon in the Action column of that respective Holiday Group row.
Following screen will be displayed -
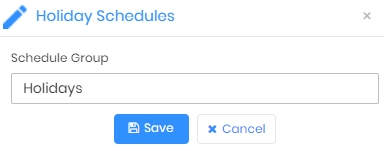
Schedule Group:
Enter the name of the Holiday Group.
Click on Save button to save the Holiday Group. The new Group will be displayed in the list.
Click on Cancel button to discard the action.
Click on button on the top right corner of the screen to delete selected Holiday Schedule(s). The application will display a confirmation message as follows -
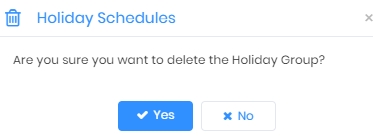
Click on OK button to delete the selected Holiday Schedule(s) from the Device and IXM WEB.
Click on Cancel button to discard the action.
Click on the small arrow in the first column of row to expand and view the Holidays of that Holiday Group as follows -
In case not a single Holiday has been added to the Group yet, this list will be blank.
Select a Holiday and click on button on the top right corner of the screen to delete that Holiday from the Group. The application will display a confirmation message as follows -
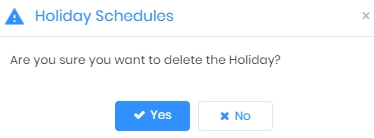
Click on Yes button to delete the selected Holiday(s) from the Holiday Group.
Click on No button to discard the action.
Click on  button on the top right corner of the screen to add a new Holiday to the Group. Following options will be displayed -
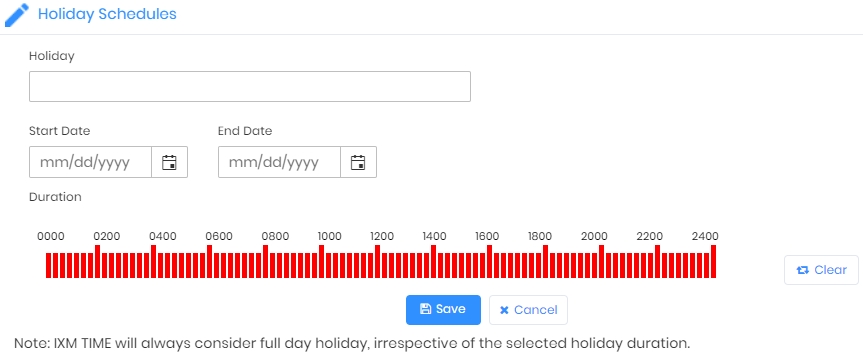
Holiday:
Enter the name of the Holiday.
Start Date:
Either enter or use calendar icon to specify the starting date of the Holiday.
End Date:
Either enter or use calendar icon to specify the ending date of the Holiday. End date cannot be more than 30 days from the Start Date.
Duration:
By default, time duration of the Holiday will be displayed as selected. You can change it. To do so, click and drag the cursor as per the requirement. Use the
button to clear the selected time duration.
Once entered, click on Save button to save the Holiday. As a result, the Holiday will be displayed in the list. Click on Cancel button to discard the action.
Select the Schedule(s) to be transferred to the Device and Click on button on the top right corner of the screen.
Following screen will be displayed to select the Devices -
Click on the arrow keys to expand the Device Group and select the desired Device(s) by clicking on the checkboxes.
Once selected, click on Transfer button to transfer the selected Schedule(s) to the selected Device(s). Click on Cancel button to discard the action.
Upon completion of the process, the “Application Logs” window will show a success or failure message -
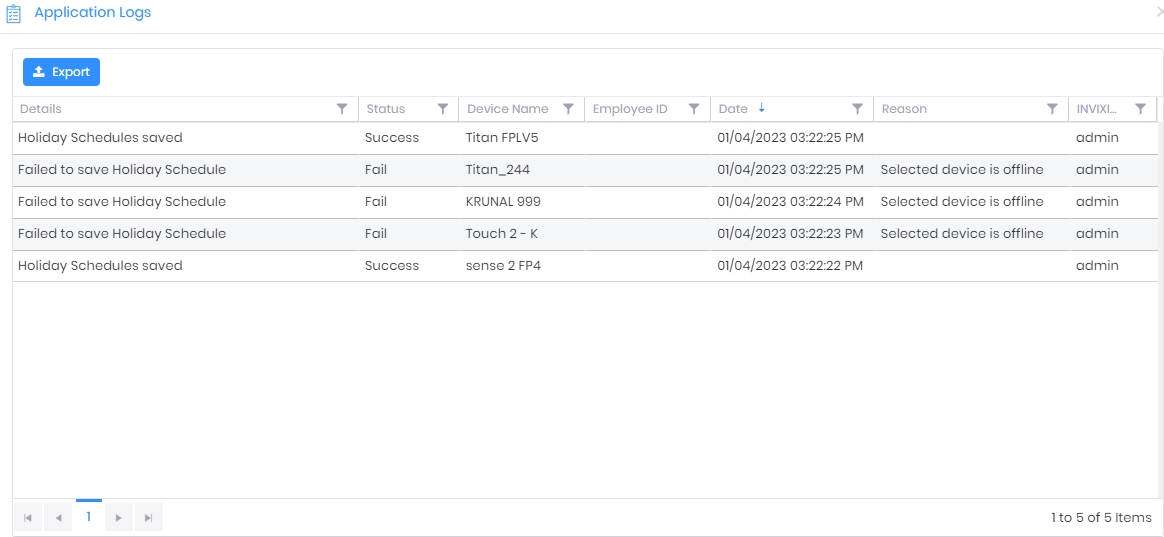
|
|
Screen Layout of Job Code
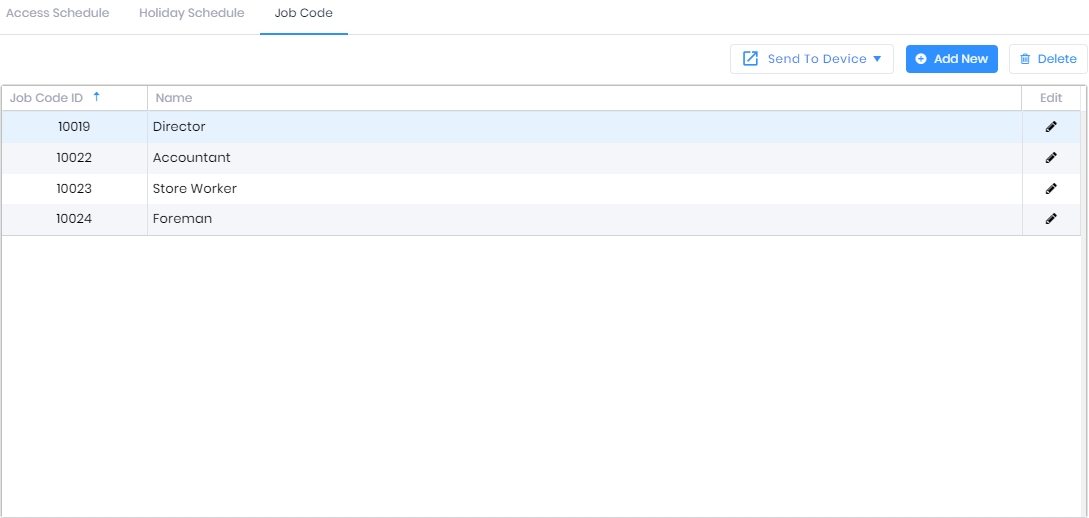
Field Description of Job Code
A list of already created Job Codes will be displayed. In case not a single Job Code has been added yet, this list will be blank.
To add a new Job Code, click on button on the top right corner of the screen.
To edit a particular Job Code, click on icon in the Edit column of that respective Job Code row.
Following screen will be displayed -
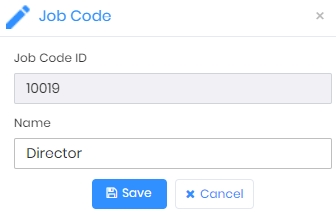
Job Code ID:
Enter the ID of the Job Code. It should be unique.
Name:
Enter the name of the Job Code.
Click on Save button to save the Job Code. The new Job Code will be displayed in the list.
Click on Cancel button to discard the action.
Click on button on the top right corner of the screen to delete selected Job Code(s). The application will display a confirmation message as follows -
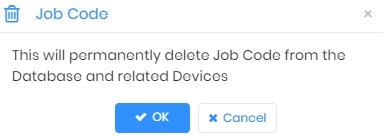
Click on OK button to delete the selected Job Code(s) from the Device and IXM WEB.
Click on Cancel button to discard the action.
Hover the mouse on button on the top right corner of the screen. Click on Selected option to transfer selected Job Code(s) to the Device or All to transfer all Job Code(s) to the Device.
Following screen will be displayed to select the Devices -
Click on the arrow keys to expand the Device Group and select the desired Device(s) by clicking on the checkboxes.
Once selected, click on Transfer button to transfer the selected/all Job Code(s) to the selected Device(s). Click on Cancel button to discard the action.
Upon completion of the process, the “Application Logs” window will show a success or failure message -
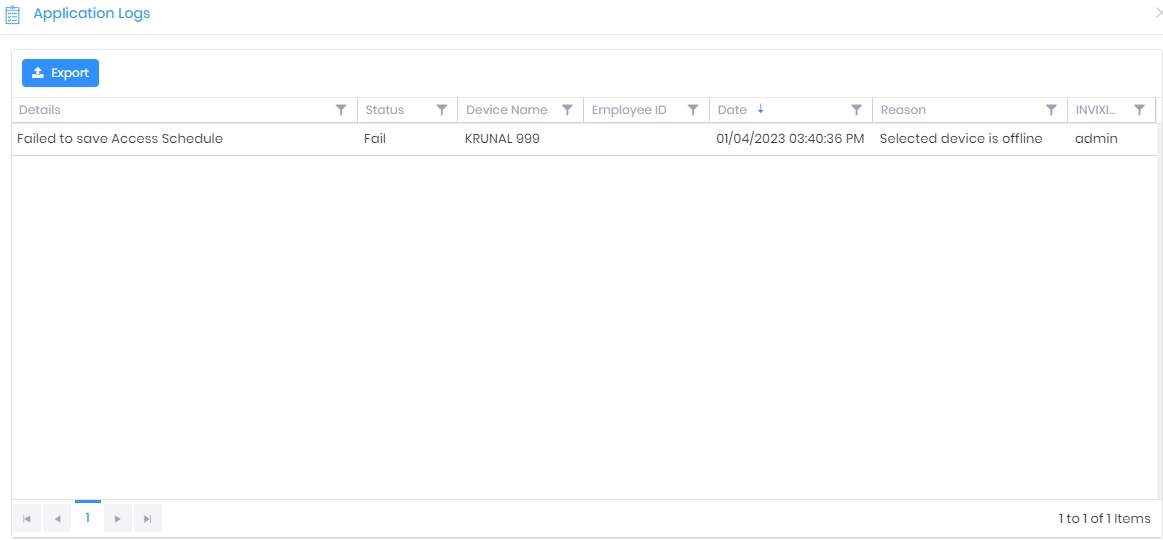
|
NOTE After transferring the Job Code successfully to the Device, it will be available in Home >> Devices >> Time & Attendance >> Job Code section.

|