Notification Settings
This sections allows to configure Notification Settings related to:
Screen Layout of Email Configuration

Email Configuration is required to send various reports and notifications via email from IXM WEB. Apart from this, Email Configuration settings will help the administrator in retrieving the password for IXM WEB in case it is forgotten. That is why configuring Email settings is highly recommended as one of the first steps after installing IXM WEB. In addition, it also makes the activation and license key requests easier.
|
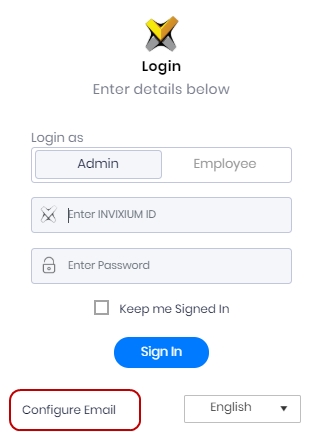
NOTE You can also configure Email on the Login page.
|
Field Description of Email Configuration
Click on  button to configure Email settings as follows -
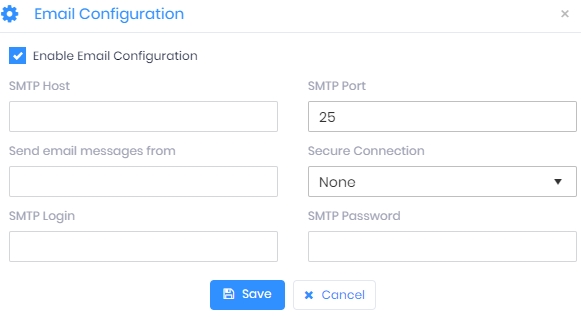
Enable Email Configuration
Click on the checkbox to enable or disable the feature. A check mark in the box indicates that the feature is enabled.
SMTP Host:
Enter the name of the server that hosts the outgoing SMTP server.
SMTP Port:
Enter the SMTP Port number.
Send email messages from:
Enter the email id by which the email will be sent.
Secure Connection:
Select either "None", "StartTLS" or "SSL" from the dropdown list.

Select "StartTLS" or "SSL" in case Gmail / Yahoo / msn etc. email servers are used as “SMTP Host”.
SMTP Login:
Enter Login ID in case Gmail / Yahoo / msn etc. email servers are used as “SMTP Host”.
SMTP Password:
Enter the valid Password for the Login ID.
Once entered, click on Save button to save the settings. Click on Cancel button to discard the action.
Click on  button to test the Email settings. Following option will be displayed -
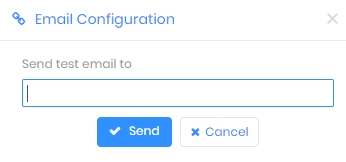
Send test email to:
Enter a valid email address.
Click on Send button to send a test mail. Click on Cancel button to discard the action.
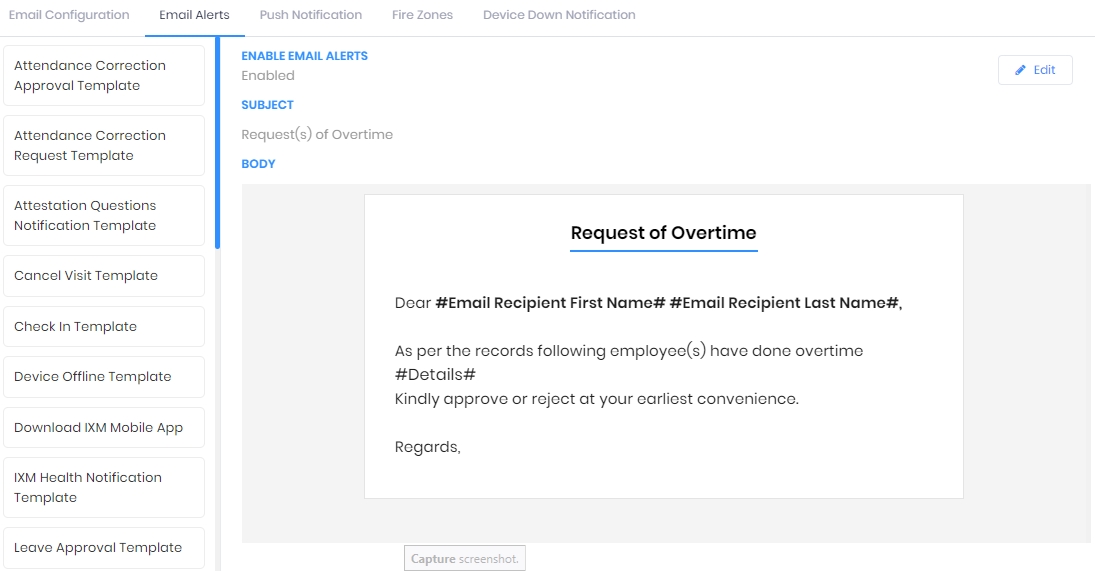
Screen Layout of Email Alerts
Field Description of Email Alerts
Using this option, you can configure Email templates belonging to various IXM WEB modules. The screen is divided into two parts - the left hand part displays the names of Email Templates and the right hand part displays the respective Template.
Only those Email Templates that belong to the modules that are active on IXM WEB will be displayed. Please refer the list below -
| Email Template | License Required |
|
Attendance Correction Approval Template |
IXM TIME |
| Attendance Correction Request Template | IXM TIME |
| Attestation Questions Notification Template | IXM Health |
| Cancel Visit Template | IXM Visitor |
| Check In Template | IXM Visitor |
|
Device Offline Template |
- |
| Download IXM Mobile App | IXM Mobile |
| IXM Health Notification Template | IXM Health |
| Leave Approval Template | IXM TIME |
| Leave Cancellation Approval Template | IXM TIME |
| Leave Cancellation Request Template | IXM TIME |
| Leave Request Template | IXM TIME |
| Missing Punch Report Template | IXM TIME |
| Missing Punch Template | IXM TIME |
| Overtime Approval Template | IXM TIME |
| Overtime Request Date Range Template | IXM TIME |
| Overtime Request Template | IXM TIME |
| Security Clearance Template | IXM Visitor |
| Unidentified Punch Report Template | IXM TIME |
| Visitor Template | IXM Visitor |
| Visit Template | IXM Visitor |
| Personal QR Code | - |
Select an Email Template from the list by clicking on it. Click on  button on the top right side of the screen to make changes in that Template. Following options will be displayed -
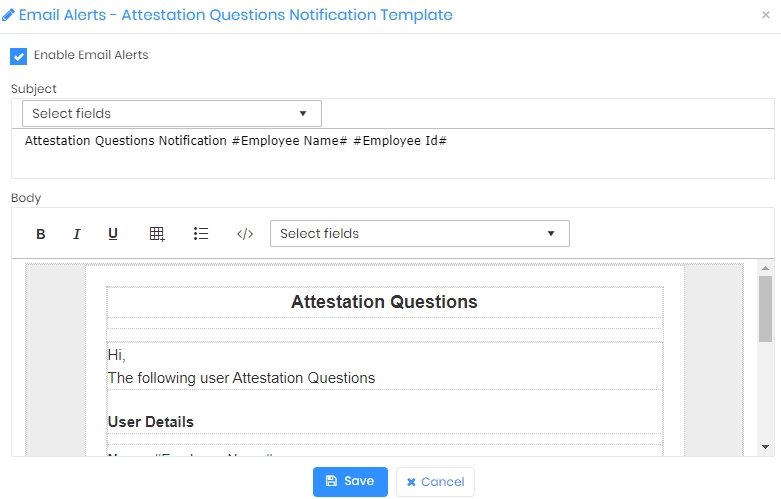
Enable Email Alerts
Click on the checkbox to enable or disable Email Alerts. A check mark in the box indicates that the feature is enabled.
Subject:
A default Subject line for the selected Template will be displayed. You can change it. You can also include data in Subject line by selecting required field(s) from the dropdown list.
Body:
A default Body text for the selected Template will be displayed. You can change it. You can also include data in Body text by selecting required field(s) from the dropdown list.
Click on Save button to save the Template. Click on Cancel button to discard the action.
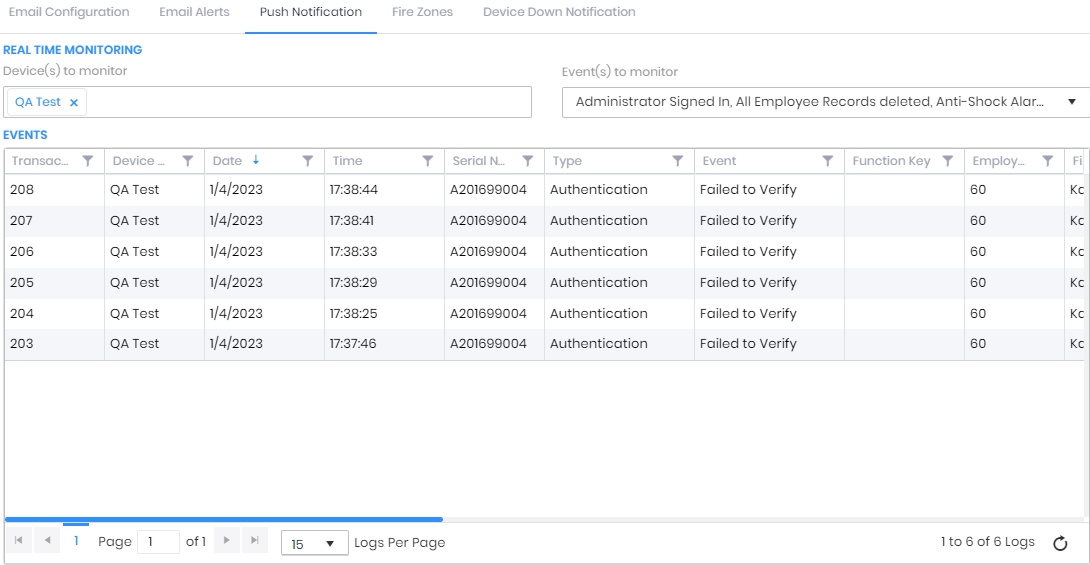
Screen Layout of Push Notification
Field Description of Push Notification
This option allows real time monitoring of Events taking place on Devices that are online.
REAL TIME MONITORING
Device(s) to monitor:
Select one or more Devices that have to be monitored from the dropdown list.
Event(s) to monitor:
Click on the box and select the Events that have to be monitored by clicking on their respective checkboxes.
EVENTS
A list of selected Event(s) taking place on selected Device(s) will be displayed live.
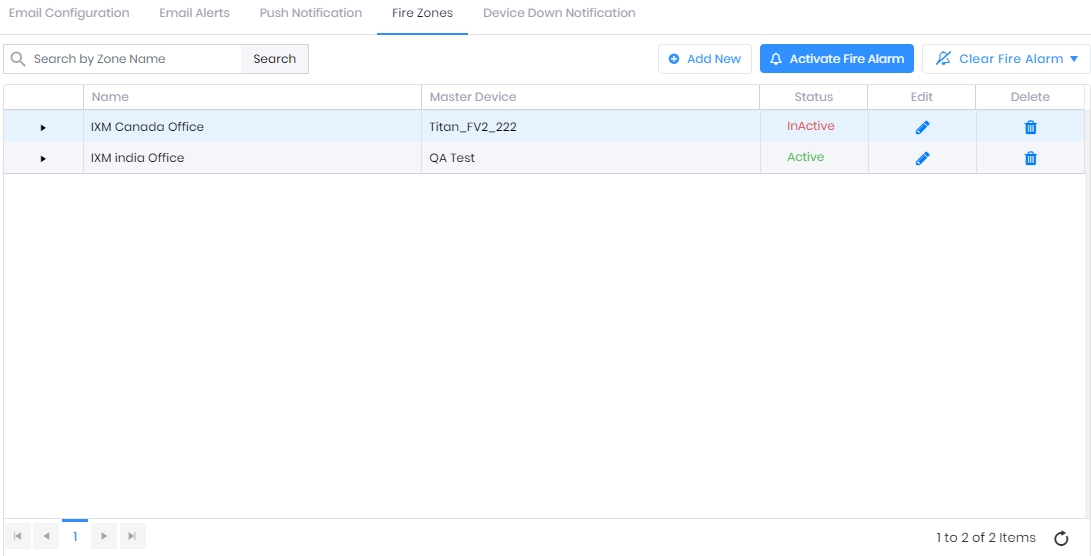
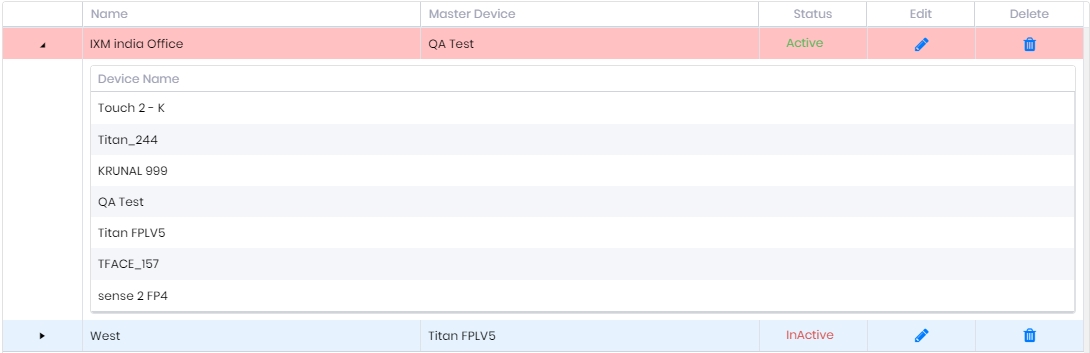
Screen Layout of Fire Zones
Field Description of Fire Zones
This sections allows to create Fire Zones in IXM WEB. Each Fire Zone consists of one Master Device that detects the fire physically through connected cables and other Devices that have to be intimated about the fire. Once the fire alarm signal is received by the Master Device, IXM WEB will push notifications to all the other Devices in the zone prompting them to open the doors until the Fire Alarm is cleared.
A list of already existing Fire Zones will be displayed. In case not a single Fire Zone has been created yet, this list will be blank. Click on the small arrow in the first column of the list to expand and view the Fire Zone as follows -
Click on  button on the top right corner of the screen to add a new Fire Zone or click on
  icon in the row of respective Fire Zone to edit that Fire Zone. Following options will be displayed -
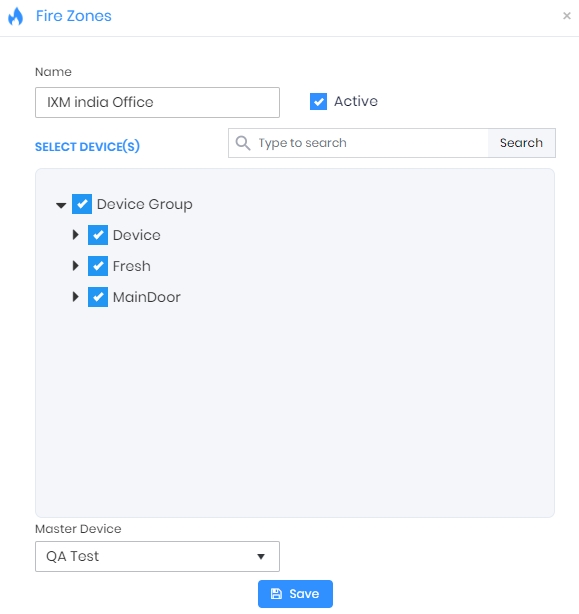
Name:
Enter the name for the Fire Zone.
Active
Click on the checkbox to make the Fire Zone active or inactive. A check mark in the box indicates that the Fire Zone is active.
Select Device(s):
Click on the arrow keys to expand the Device Group and select the desired Device(s) by clicking on the respective checkboxes.
Master Device:
Select the Master Device from the dropdown list. Master Device should be online.
Click on Save button to save the Fire Zone. The new Fire Zone will be displayed in the list.
Click on  icon on the row of respective Fire Zone in the list. The application will ask for confirmation as follows -

Click on Delete button to delete the Fire Zone. It will also be removed from the list. Click on Cancel button to discard the action.
Select the Fire Zone and click on  button to activate Fire Alarm on all Devices for that Zone. Fire Zone(s) with active Fire Alarm will be highlighted by Pink color in the list.
|
|
Fire Alarm can be activated on active Fire Zones only. |
Hover the mouse on ![]() button on the top right corner of the screen and select "Selected" option to clear Fire Alarm on all Devices of selected Fire Zone(s) or "All" option to clear Fire Alarm on all Devices of all Fire Zones.
button on the top right corner of the screen and select "Selected" option to clear Fire Alarm on all Devices of selected Fire Zone(s) or "All" option to clear Fire Alarm on all Devices of all Fire Zones.
|
|
Fire Alarm can be cleared on active Fire Zones only. |
|
NOTE In the event of fire, Devices in the Zone will keep the doors open until the Fire Alarm is cleared.
|

Screen Layout of Device Down Notification

Whenever the Device(s) go offline, an email notification can be sent informing the same.
Field Description of Device Down Notification
Email:
Enter the Email ID(s) to which the Device offline notification emails should be sent.
Click on Apply button to save the settings.