Devices
The Devices section allows to add and manage Devices and Device Groups in IXM WEB.
The screen is divided into two sections. The left-hand section displays a List / Groups of Devices. Whereas the right-hand section displays the relevant information related to the currently selected item on the left-hand list.
Applies To
| TITAN | TFACE | TOUCH 2 | SENSE 2 | MERGE 2 | MYCRO |
| All Devices | All Devices | All Devices | All Devices | All Devices | All Devices |
Screen Layout of List
Device List allows administrators to manage Devices in IXM WEB.
Field Description of List
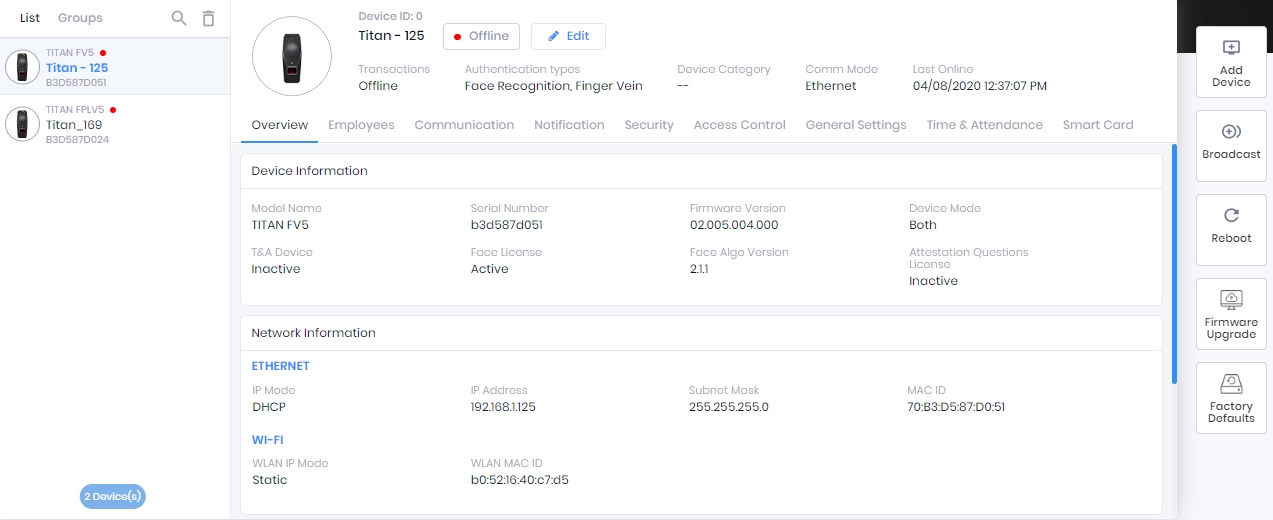
A list of Devices is displayed on the left-hand section. Click on a particular Device to access relevant information in the right-hand section. In case not a single Device has been added yet, this list will be blank.
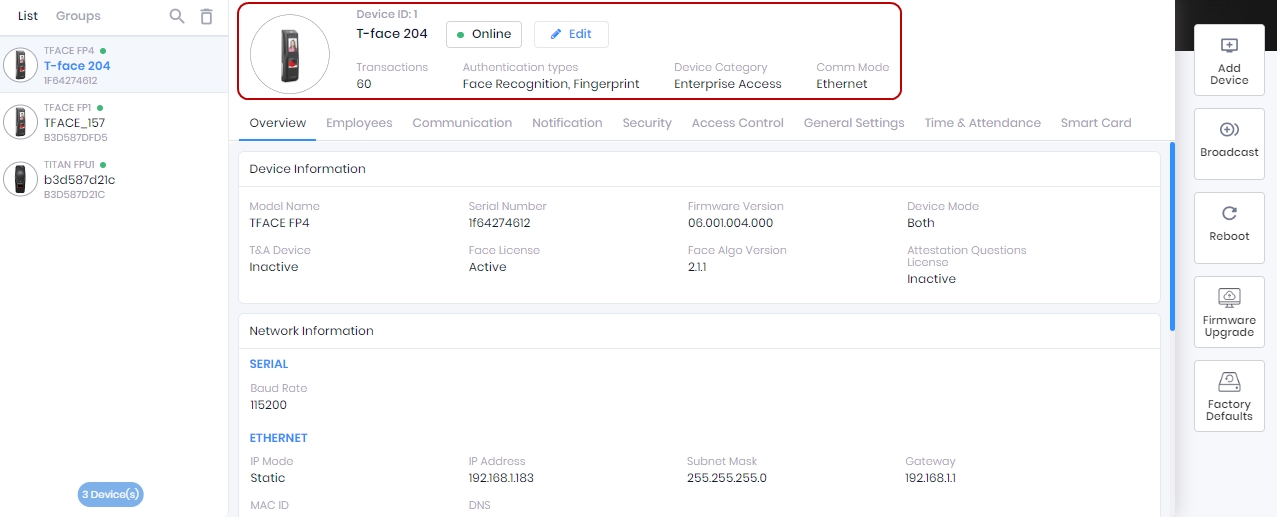
Device ID:
This is the unique identifier for the device. It is mainly used when the Device communicates using RS-485 serial mode.
Transactions:
Displays the number of transactions available on the Device.
Authentication types:
It displays the biometric type such as fingerprints, face recognition, or finger vein.
Device Category:
It displays the category of the Device. The following are the three categories:
Enterprise Access
Time & Attendance
Smart Home
Comm Mode:
It displays the Communication Mode of the Device such as -
Ethernet
Secured Ethernet
Wi-Fi
Secured Wi-Fi
VPN
Secured VPN
Cellular
Cellular Secure
Serial
Last Online:
It displays the date and time when the Device was last found online.
Besides viewing this information, the user can also configure the settings of a Device through the following tabs -
Click on  button on the right side of the screen to add a new Device. Read more...
Click on  button next to the Device name to edit that Device. Read more...
|
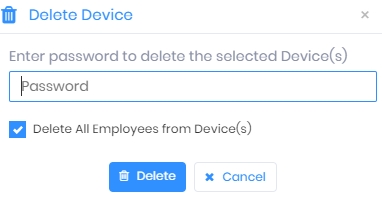
NOTE Only those Users who have the access to the Device(s) can delete those Devices.
|
 icon on the top of the list next to the search bar. Following screen will be displayed -
|
Enter valid credentials and click on Delete button to delete the selected Device.
Delete All Employees from Device(s)Click on the checkbox to enable or disable the feature. A check mark in the box indicates the feature is enabled. If the feature is enabled, all Employee records saved on the Device will also be deleted once the Device is deleted. Click on Delete button to delete the selected Device(s). Click on Cancel button to discard the action. |
On successful validation, the deleted Device(s) will be removed from the Device List.

|
Broadcast feature allows to copy settings of a particular Device to one or more other Devices.
|
NOTE All IXM WEB users with access to the Device tab can broadcast setting(s) to other IXM Devices. |
Select the required Device from the Device List and click on  button on the right side of the screen to copy settings of that Device to other Device(s). The following screen will be displayed -
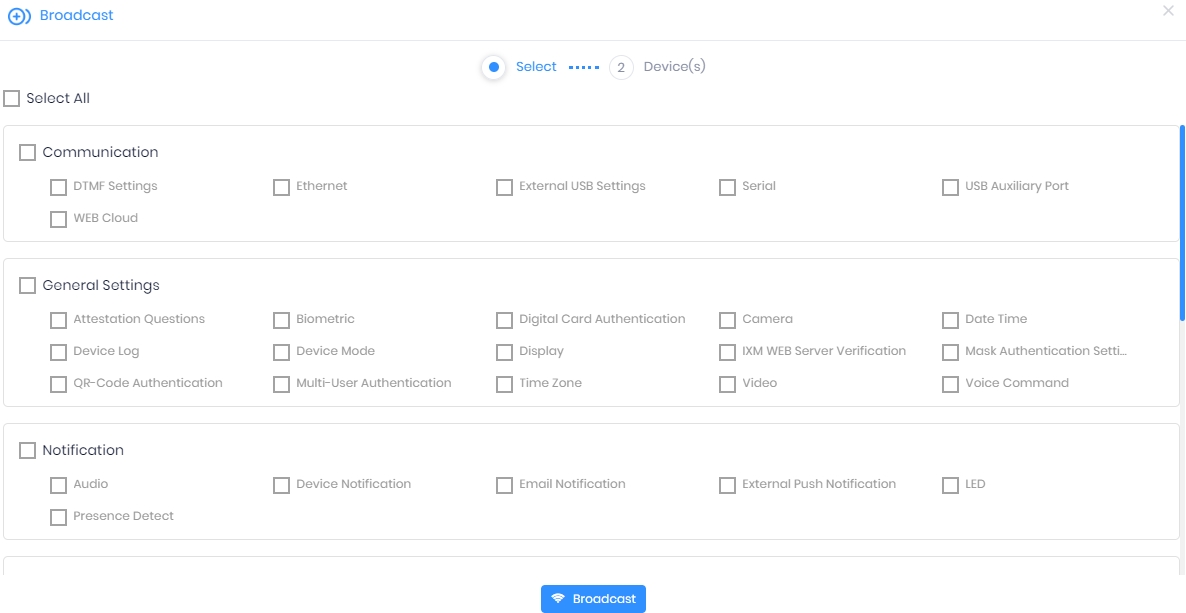
Select individual settings that need to be copied to other Device(s) by clicking on the respective checkboxes. You can copy all settings by clicking on Select All or all settings belonging to a category by clicking on the checkbox of that category.
Once selected, click on Broadcast button. A list of Devices under their respective Device Groups will be displayed as follows -
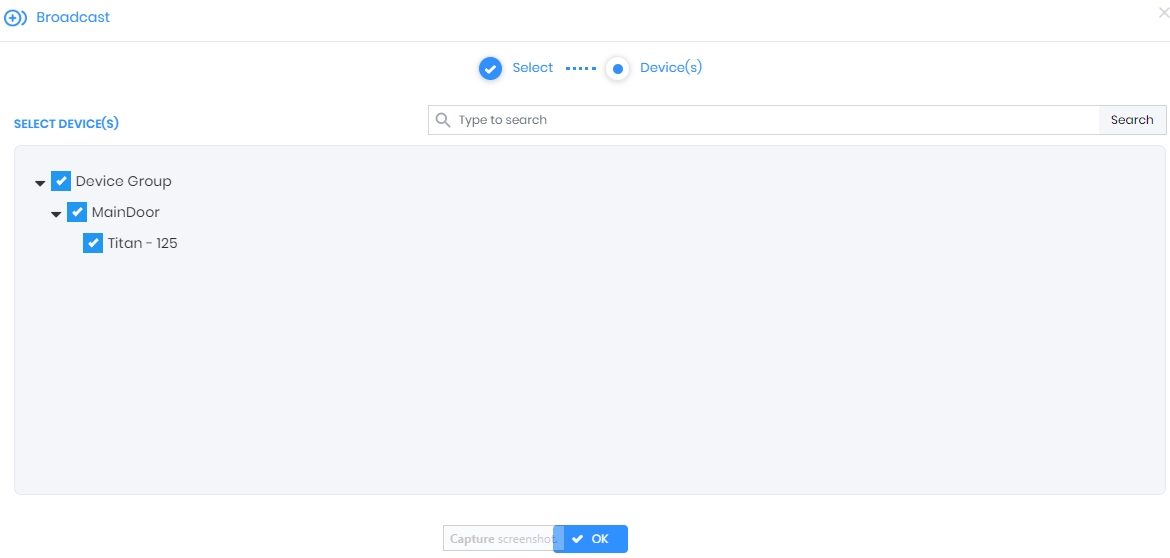
Search:
You can search for a particular Device by entering its full or partial name. Once entered, either press <Enter> key or click on Search button. The list will be refreshed with Devices matching with the entered name.
Select the destination Device(s) where the settings need to be copied by clicking on their respective checkboxes.
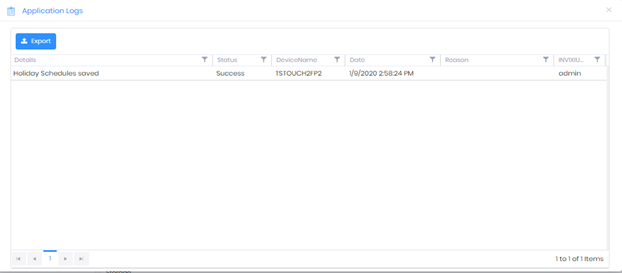
Once done, click on OK button to initiate the broadcasting process. Application log will be displayed at the end of the process for success / failure instances as follows -
|
|
|
NOTE Users can also press the reset button located at the bottom of the Device near the secured USB port.
|
|
NOTE
|
Click on  button on the right side of the screen after selecting the required Device from the Device List. The application will display a device reboot confirmation window as follows -

|
Click on Reboot button. This will reboot the selected Device.
Click on Cancel button to discard the action. |
There are two other ways to reboot the device without registering it in IXM WEB:
-
Power “OFF” the device by disconnecting the power source and power “ON” after 5 – 10 Sec. This will reboot the device. This will also reset the clock on the device to the factory setting.
-
Users can reboot the device using the reboot/reset button which is located at the bottom of the device near the secure USB port. User needs to perform the following steps to reboot the device using the reboot/reset button:
-
Locate the bottom of the device where the USB is located.
-
From the bottom of the device unscrew the jack panel using the Hex Key, which is provided along with the Device Installation Kit.
-
Here the user will see a button adjacent to the USB port.
-
Press that button for 2-3 sec. This will reboot the device. Users will also hear a buzzer when the device reboots. (This will not work if the user has changed Buzzer settings to “None” for the reboot event).
-
Note: Kindly note that if the user presses the reboot/reset button for more than 2-3 sec then the user’s device config settings will also be reset to factory default but it will not affect the existing users on the device.
|
|
Upgrading device firmware is a critical process for embedded products as it increases security, improves performance, and fixes pending issues.
Select the Device(s) from the Device list and click on  button on the right side of the screen to upgrade the firmware of the selected Devices. Read more...
|
NOTE You can also upgrade the firmware from the Device using USB. Read more...
|
IXM WEB allows the administrator to restore factory defaults of various settings on IXM Devices.
Select the required Device from the Device list and click on  button on the right side of the screen to reset factory defaults on that Device.
IXM WEB allows to restore settings in two ways -
-
Reset Settings to Factory Default - Resets all or selected settings to factory default on the Device.
-
Reset and Erase Data - Deletes all the Employees, Transaction Logs, Configuration settings, and Device Logs from the Device.
|
NOTE The Device that has to be reset should be ONLINE.
|
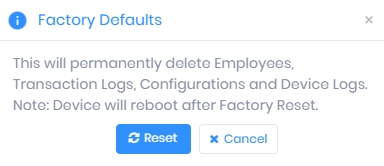
Click on  button on the top right side of the screen to delete all the Employees, Transaction Logs, Configuration settings, and Device Logs from the selected Device. A confirmation message will be displayed as follows -
|
Click on Reset button to continue.
Click on Cancel button to discard the action. |
Upon completion of the process, the Device will reboot and the following message will be displayed upon success.
Click on  button on the top right side of the screen to reset the settings of selected Device to factory default. Further two options are provided under this -
Selected
Select this option to reset particular settings.
If you want to reset particular settings, you need to first select them by clicking on their respective checkboxes. A warning message will be displayed -
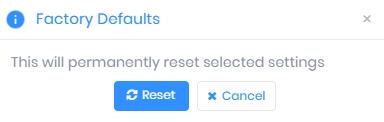
Click on Reset button to continue.
Click on Cancel button to discard the action.
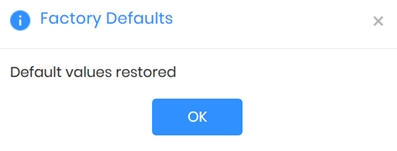
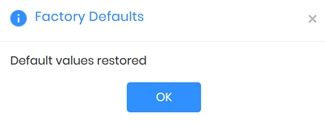
Upon completion of the process, default values of the selected settings will be restored and the application will show a success message.
All
Select this option to reset all settings. A warning message will be shown -
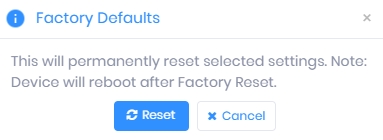
Click on Reset button to continue.
Click on Cancel button to discard the action.
Upon completion of the process, default values of all settings on the selected Device will be restored and it will reboot.
| NOTE You can also restore factory defaults from the Device. Read more... |
Screen Layout of Groups
Device Group is the logical grouping of devices where every device must be assigned to at least one device group at the time of registration. Device(s) can be added to any device group(s) as well as one device can be added to multiple device groups. Whenever a device group is assigned to any device, all the user group(s) which are associated with that device group are also transferred to that device.
There has been a major enhancement to the Device Groups feature from IXM WEB 2.1.0.0 onwards. Sync states which were displayed under Device Groups in earlier versions have now been moved to the Sync tab in the left navigation pane.
Field Description of Groups
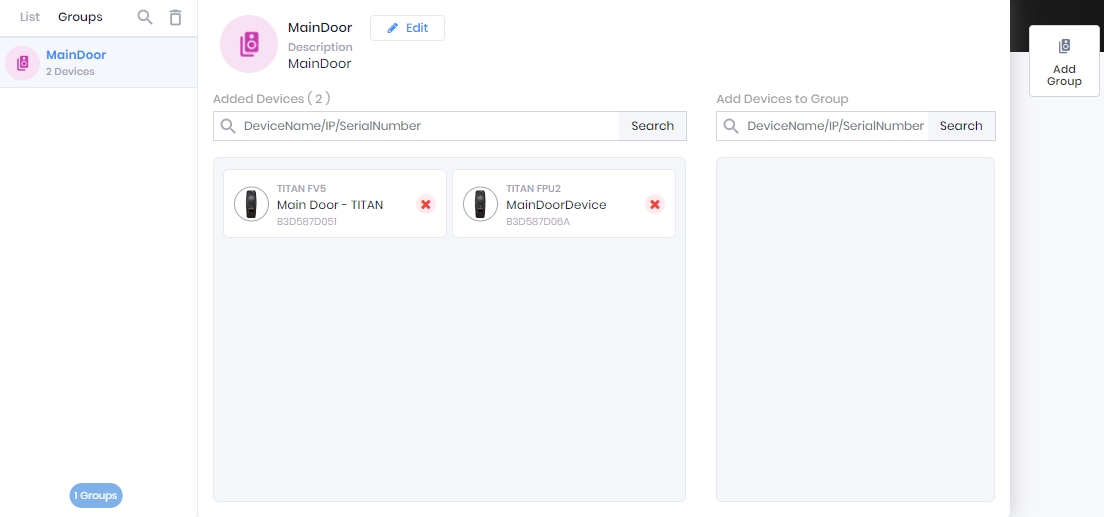
A list of Groups is displayed on the left hand section. Click on a particular Group to access relevant information in the right hand section. In case not a single Group has been added yet, this list will be blank.
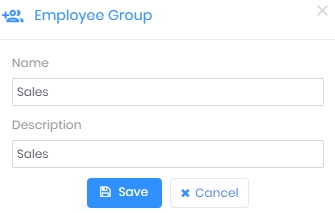
Click on  button on the right side of the screen to add a new Device Group. To edit a Device Group, click on button next to that Group name. Following screen will be displayed -
|
Name:Enter the Name of the Device Group. It should not already exist.
Description:Enter the Description of the Device Group.
Once entered, click on Save button to save the details. As a result, the application will show a success message and the Device Group will be added / updated in the list of Device Groups.
Click on Cancel button to discard the action. |
Once the required Device groups are created, the administrator can add any device to any group from the Device group window itself. Read more...
Device Groups are useful for transferring groups of employees to different devices to avoid transferring each employee individually. Read more...
To add a Device to a selected Device Group, click the + icon next to each Device.
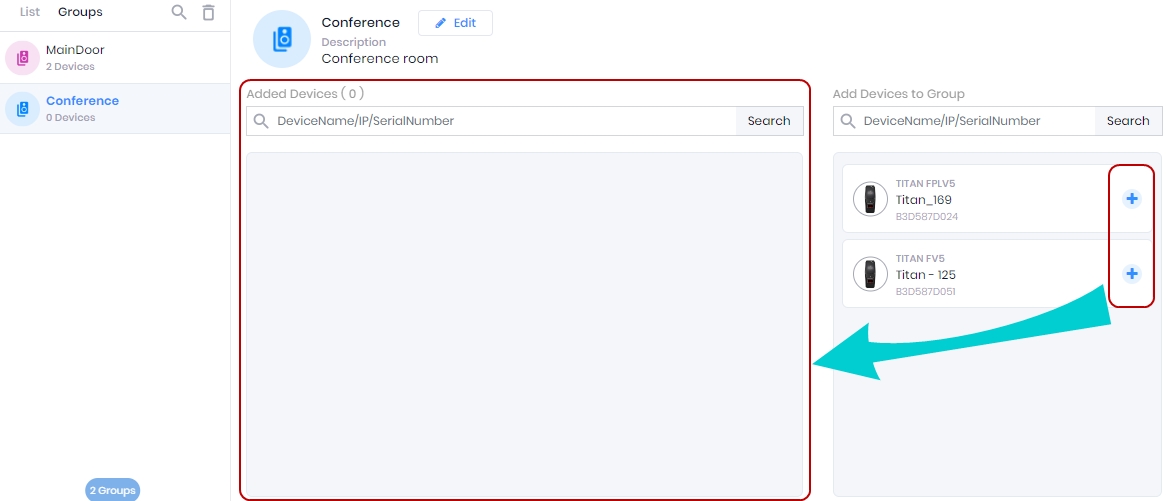
The Device will be added to the selected Device Group and displayed in the Added Devices section on the screen.
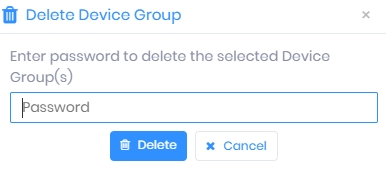
Select the Group(s) to be deleted from the Groups list and click on the icon on the top of the list next to the search bar.
The application will ask for credentials as follows -
|
|
Enter valid credentials and click on Delete button to delete the selected Device Group.
Click on Cancel button to discard the action. |
On successful validation, the application will display a success or failure status message as follows -
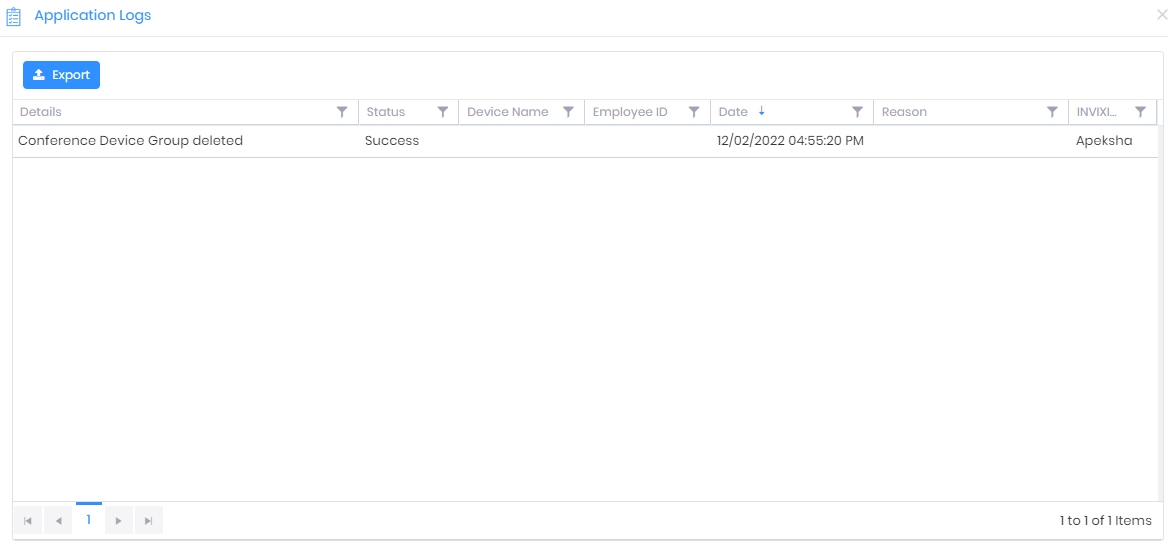
The deleted Device Group will be removed from the Device Group List.
|
NOTE A Device Group can not be deleted if it contains Devices. To delete such a Group, first remove all the Devices from that Group. |