Employees
The Employee section allows to add and manage Employees and Employee Groups in IXM WEB.
Applies To
| TITAN | TFACE | TOUCH 2 | SENSE 2 | MERGE 2 | MYCRO |
| All Devices | All Devices | All Devices | All Devices | All Devices | All Devices |
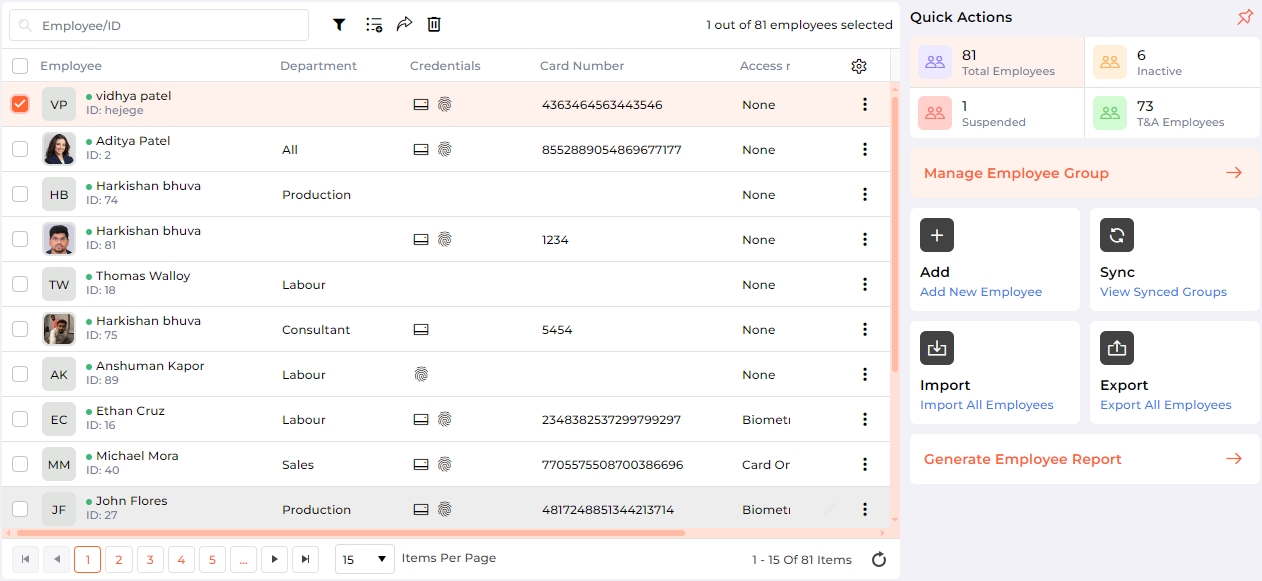
A list of already defined Employees will be displayed as shown below. If no Employees have been added yet, this list will be empty.

Search:
You can search for a particular Employee by entering its full or partial Employee Name / ID. Once entered, press the <ENTER> key. The list will be refreshed with Employees matching the entered name / ID.
To filter Employees, click on the ![]() icon next to the Search box to view specific Employees.
icon next to the Search box to view specific Employees.
To customize the Grid columns, click the ![]() icon in the header row. A list of columns will appear. Select the checkboxes next to the columns you want to display. Click on the Save button to save the selection. The grid will be refreshed accordingly. Click on the Reset button to restore the original selection.
icon in the header row. A list of columns will appear. Select the checkboxes next to the columns you want to display. Click on the Save button to save the selection. The grid will be refreshed accordingly. Click on the Reset button to restore the original selection.
The Quick Action panel on the right side of the screen provides information regarding number of Total employees, Inactive employees, Suspended employees, and Time & Attendance employees. Click on the respective tile to refresh the list accordingly. The panel also provides convenient access to perform certain functions within the Employee module.
Employee List allows administrators to manage Employees in IXM WEB. It displays Employee related information such as their personal information, access details and biometric data. Click on a particular Employee in the list to access relevant information such as -
In the Quick Action panel, click on the Add (Add New Employee) button to add a new Employee or hover the mouse over the employee row and click on the ![]() icon in the last column to edit the Employee. Read more...
icon in the last column to edit the Employee. Read more...
|
NOTE You can also enroll Employees from a Device.
Learn how to enroll Employees from a Device...
|
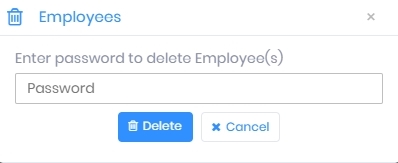
The application will ask for credentials as follows -
|
|
Enter valid credentials and click on Delete button to delete the selected Employee.
Click on Cancel button to discard the action. |
On successful validation, the application will show a success message and the Employee will be removed from the Employee List.
In the Quick Action panel, click on the Export (Export All Employees) button to export all the IXM WEB Employees in an Excel file (EmployeeDD-MM-YYYY_HH-MM-SS.csv).
|
|
In the Quick Action panel, click on the Import (Import All Employees) button to upload previously exported IXM WEB users back to IXM WEB. Read more...
|
|
In the Quick Action panel, click on the Manage Employee Group button to add and maintain Employee Groups. Read more...
Hover the mouse over the required Employee in the Employee list and click on the ![]() icon at the end of the row. In the menu, click on the Add to Group option to add an Employee to a selected Employee Group.
icon at the end of the row. In the menu, click on the Add to Group option to add an Employee to a selected Employee Group.
Alternatively, select Employee(s) by checking their respective boxes, then click on the ![]() icon next to the Search box at the top of the list. You can also search or filter the Employee list as per requirement.
icon next to the Search box at the top of the list. You can also search or filter the Employee list as per requirement.
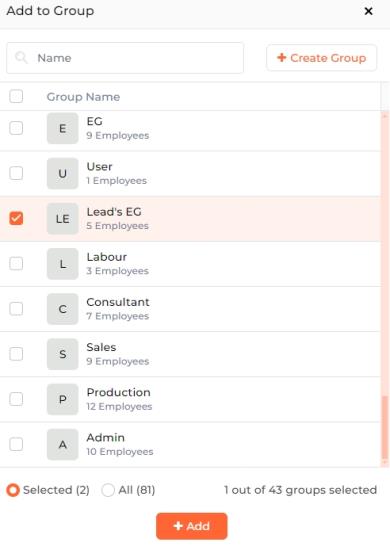
A list of Employee Groups will be displayed as follows:

Selected:
It shows the number of Employee(s) selected from the Employee list page. Selecting this option will add the selected Employee(s) to the Employee Group(s).
All:
It shows the number of all Employee(s) from the Employee list page. Selecting this option will add all Employee(s) to the Employee Group(s).
Check the boxes of respective Employee Group(s) and click on the Add button. The Employee(s) will be added to the selected Employee Group(s).
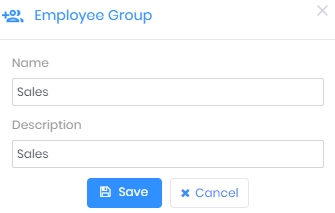
You can also create a new Employee Group by clicking the  button in the top right corner of the screen. The following screen will be displayed:

|
Name:Enter the Name of the Employee Group. It should not already exist.
Description:Enter the Description of the Employee Group.
Once entered, click on Save button to save the details. As a result, the application will show a success message and the Employee Group will be added / updated in the list of Employee Groups.
Click on Cancel button to discard the action. |
Employee Groups are useful for creating departments and transferring entire groups to different IXM Devices to avoid enrolling each employee separately on them.
In the Quick Action panel, click on the Sync (View Synced Groups button to create Sync Groups. Read more...
This report displays information about all the Employees. Sample Report

