License
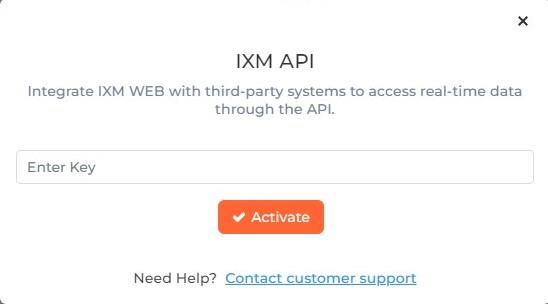
End users need to purchase licenses of IXM WEB Modules to leverage them. Using this option, you can activate the required module by entering the license key provided by the Invixium Technical Services team. Once the required Module is activated, you can use its features in IXM WEB.
Apart from this, you can also view a list of Modules that are already activated on IXM WEB.
Screen Layout of License
Field Description of License
Click on the respective Module icon to activate a License for the same.
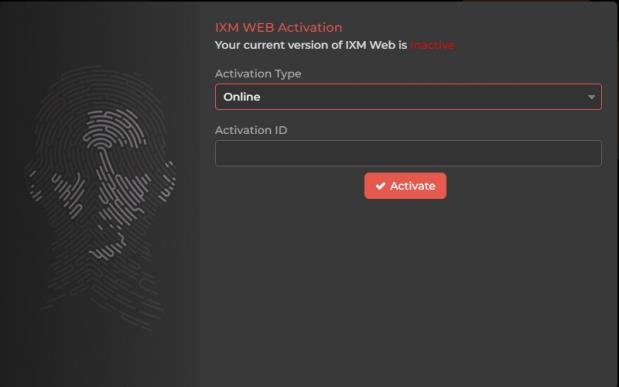
On selecting this Module, the following screen will be displayed -
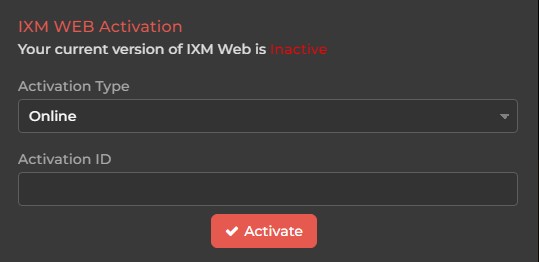
Activation Type:
Select "Online" if the machine where IXM WEB is installed has an internet connection. You can activate IXM WEB using online mode.
Select "Offline" if the machine where IXM WEB is installed does not have an internet connection.
Activation ID:
Enter the Activation ID once you receive it from Invixium and click on Activate button.
On successful activation, the application will display the following message -

If the IXM WEB license is already active, the following screen will display information such as the Activation Date and Expiration Date of IXM WEB.
This module converts non-proprietary fingerprint images and face images into standardized Invixium biometric templates.
On selecting this Module, the following screen will be displayed -
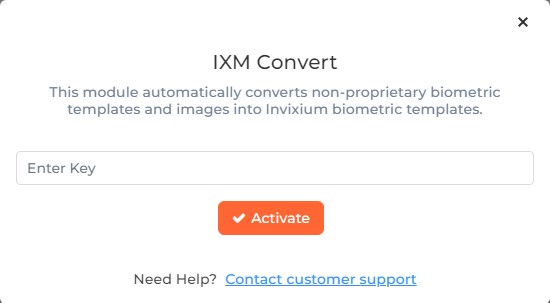
Click on Activate button to activate the License.
On successful activation, the application will display the following message -

You can also verify the activation details on the same page from the Activation History section.
You can now configure the Convert Module from here.
Follow the steps mentioned below to activate the License.
STEP 1:
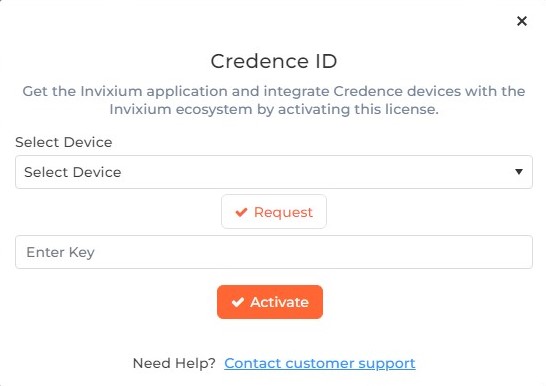
Select Device:
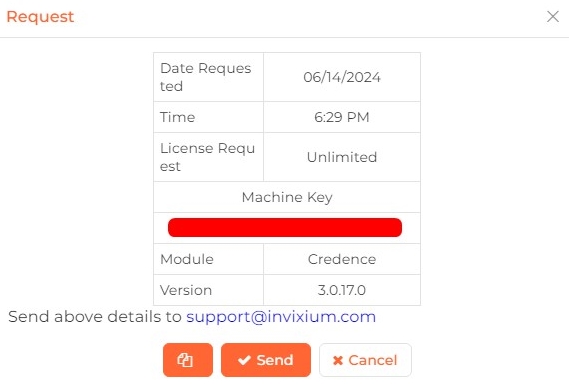
Select the Device on which Invixium Certified Product has to be installed from the dropdown list.Click on Request button to see the details and send them to Invixium support to request a license. Details will be displayed as follows -
STEP 2:
The next step is to send these details to Invixium support. There are two ways to do so; either copy the details on to clipboard and paste them in email or email the details directly.
Click on ![]() icon to copy the details on to the clipboard. You can then paste them in an email to support@invixium.com to start the licensing process.
icon to copy the details on to the clipboard. You can then paste them in an email to support@invixium.com to start the licensing process.
Alternatively, you can directly email the details to Invixium support by clicking on Send button. Please note that the Send button will be displayed only when SMTP settings have already been configured.
Click on Cancel button to discard the action.
STEP 3:
Once you receive the license key from Invixium, go back to the same page where you requested the license and input the license key in the box as shown below -
Click on Activate button to activate the License.
On successful activation, the application will display following message -

You can also verify the activation details on the same page from the Activation History section
On selecting this Module, the following screen will be displayed -
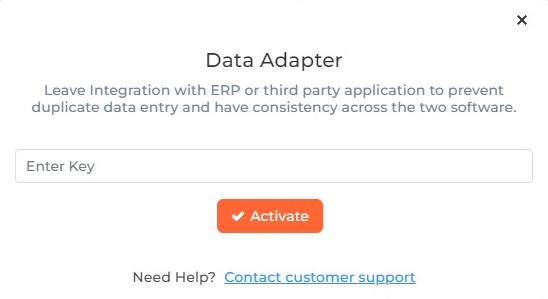
Enter the license key received from Invixium in the box provided.
Click on Activate button to activate the License.
On successful activation, the application will display the following message -

You can also verify the activation details on the same page from the Activation History section
On selecting this Module, the following screen will be displayed -
Enter the license key received from Invixium in the box provided.
Click on Activate button to activate the License.
On successful activation, the application will display the following message -
You can also verify the activation details on the same page from the Activation History section.
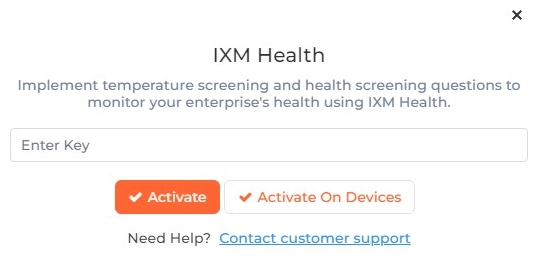
Enter the license key received from Invixium in the box provided.
Click on Activate button to activate the License.
On successful activation, the application will display following message -

Click on Activate On Devices button to activate Attestation Questions License on Device(s) provided the IXM Health license is already active.

This button will be displayed only if IXM Health license is active.
A list of Devices under their respective Device Groups will be displayed as follows -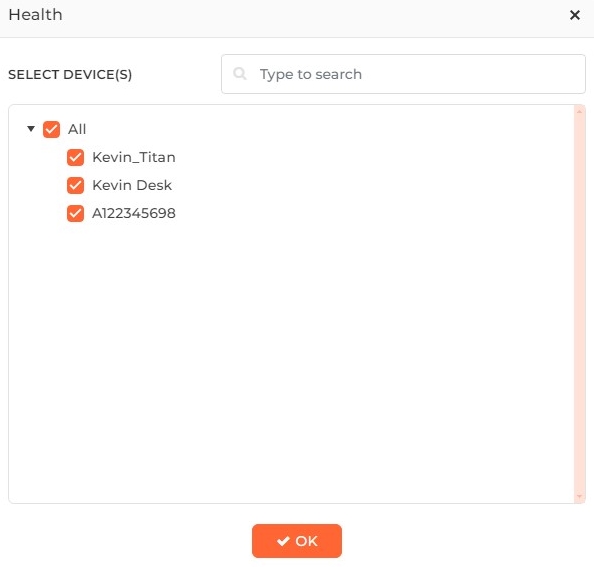
Search:
You can search for a particular Device by entering its full or partial name. Once entered, either press <Enter> key or click on Search button. The list will be refreshed with Devices matching with the entered name.
Select the Device(s) where the Attestation Questions License needs to be activated by clicking on their respective checkboxes.
Once done, click on OK button to activate the Attestation Questions License. Application log will be displayed at the end of the process for failure instances.
You can also verify the activation details on the same page from the Activation History section.
You can now configure IXM Health Module from here.
![]() What is the IXM Mobile Platform?
What is the IXM Mobile Platform?
![]() What are the features of IXM Mobile?
What are the features of IXM Mobile?
![]() IXM Mobile Features vs Mobile Device OS Compatibility Matrix
IXM Mobile Features vs Mobile Device OS Compatibility Matrix
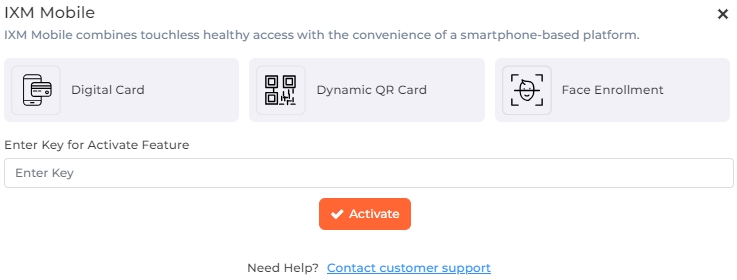
On selecting this Module, the following screen will be displayed -
Digital Card
Digital card uses BLE (Bluetooth Low Energy) technology and replaces physical RFID cards with mobile IDs. With IXM Mobile on a smart phone, users can shake or twist their mobile devices to perform authentication on IXM TITAN, IXM TFACE, and IXM VERTU devices.
With digital cards, organizations can reduce their plastic footprints and adopt secure, faster, and more affordable identity management solutions. Digital cards will replace physical cards and users can use their smart phones at a distance to perform an authentication.
• Replaces expensive and unmanageable physical cards
• Uses personal mobile as their Digital ID
• Cheaper while remaining secure and easy to useDynamic QR Card
This is the most secure form of QR code as it is encrypted and dynamic (i.e., changes every 5 seconds). To authenticate employees and visitors, you can place a live QR code in front of the camera on IXM TITAN or IXM TFACE
Like Digital Cards, Dynamic QR codes can be used as a digital identity for employees, and the benefits can be expanded to visitors. What makes our dynamic QR code different and unique is its continuously changing identity and validity. IXM TITAN / TFACE can be configured to detect and only authorize the latest generated QR code.
• Enhanced security through encryption
• Screen shot or photo captured QR will be rejected
• IXM TITAN / TFACE will accept only Live QR CodesFace Enrollment
This feature provides convenience to enroll templates for face recognition on IXM TITAN and IXM TFACE using IXM Mobile. Employees can then use IXM TITAN or IXM TFACE to perform face recognition using this enrollment.
With remote face enrollment enabled for all employees, companies won’t require gathering employees at one location or visiting different office locations with an IXM TITAN / TFACE device to capture their biometric records. Instead, the employee can perform a live face enrollment by themselves using their own smart-phones where they are. As a result, organizations benefit by:
• Not requiring staff to travel to enrollment site so staffs can focus on their primary job
• Saving manpower and associated costs to manage crowds
• Early completion of biometric records collection
Enter the license key received from Invixium in the box provided.
Click on Activate button to activate the License.
On successful activation, the application will display following message -

You can also verify the activation details on the same page from the Activation History section.
Enter the license key received from Invixium in the box provided.
Click on Activate button to activate the License.
On successful activation, the application will display following message -

You can also verify the activation details on the same page from the Activation History section.
You can now configure IXM Time Module from here.
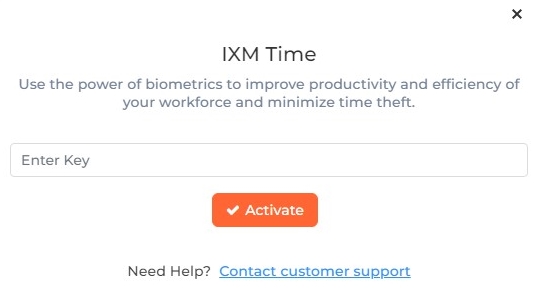
On selecting the Module, following screen will be displayed -
Enter the license key received from Invixium in the box provided.
Click on Activate button to activate the License.
On successful activation, the application will display following message -

You can also verify the activation details on the same page from the Activation History section.
You can now configure Translate Module from System Settings >> Translate section.
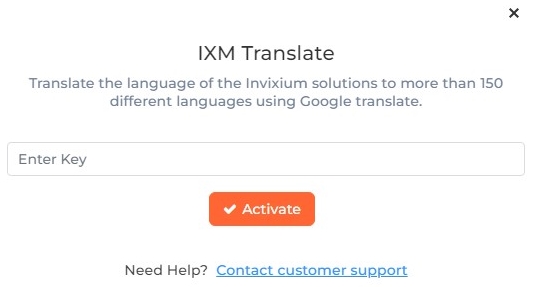
On selecting this Module, the following screen will be displayed -
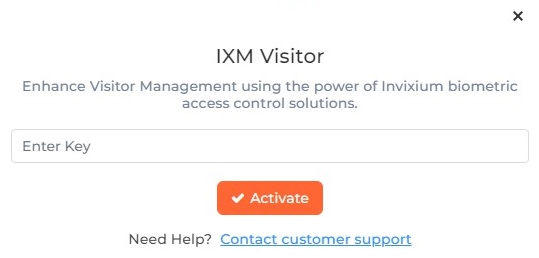
Enter the license key received from Invixium in the box provided.
Click on Activate button to activate the License.
On successful activation, the application will display following message -
You can also verify the activation details on the same page from the Activation History section.
You can now configure Visitors Module from here.
IXM Link is a licensed module in IXM WEB that helps to synchronize the user database between IXM WEB (from where biometric enrollment for users is performed) and leading Access Control Panel Software (from where access rules for the users and the organization are managed). To use this Module, you need to request License for the required Access Control Panel and activate it in IXM WEB.
Click on the respective Access Control Panel icon to request a License for the same. Following screen will be displayed -
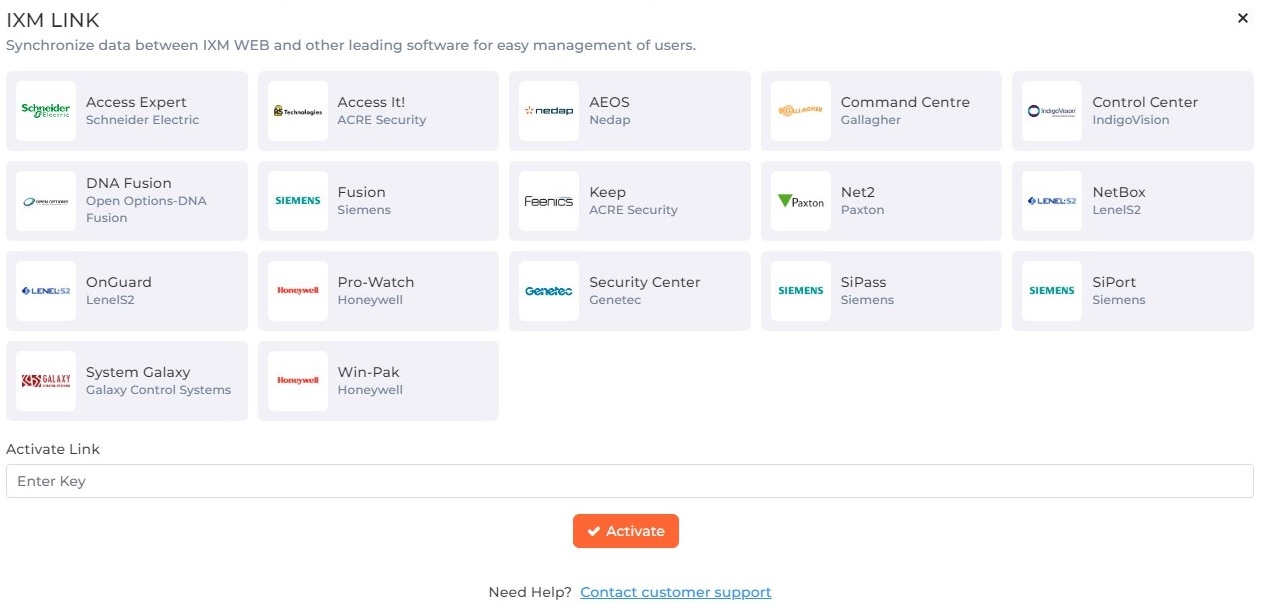
Click on Activate button to activate the License.
On successful activation, the application will display following message -

You can now enable the licensed Access Control Panel Software from the Link section.
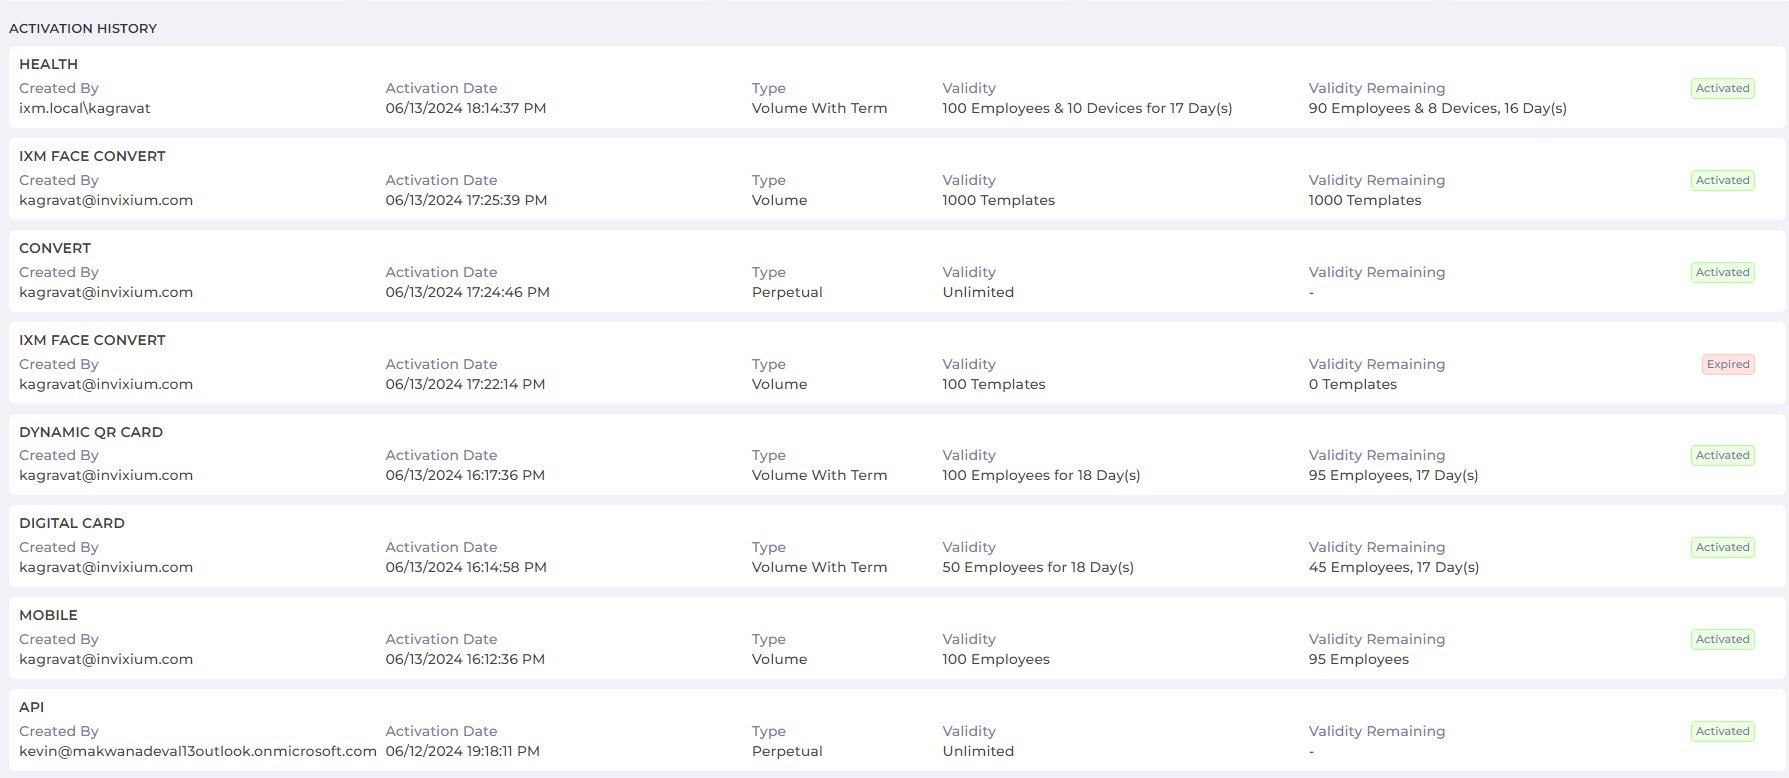
ACTIVATION HISTORY
A list of active IXM WEB Modules along with license details will be displayed for your reference as follows -
