|
|
Add/Edit Visit
A Visit consists of the following activities:
Screen Layout of Visit Details
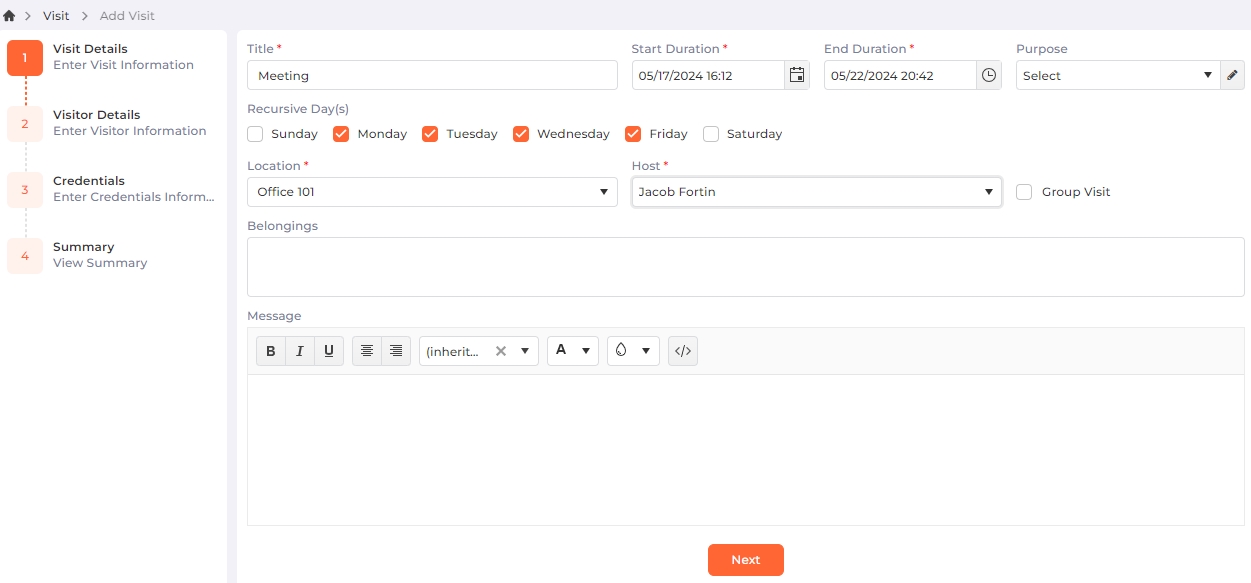
The screen is split into two sections. On the left-hand side, you'll find a sequential list of activities, with the completed / current activity highlighted for easy reference. The right-hand section enables you to input data associated with the selected activity.
This section saves Visit related information.
Field Description of Visit Details
Title:
Enter the title for the Visit.
Start Duration:
Enter or select the starting date and time for the Visit.
End Duration:
Enter or select the ending date and time for the Visit. By default, the visit duration is set for half an hour.
Purpose:
Select the purpose of the Visit from the dropdown list.
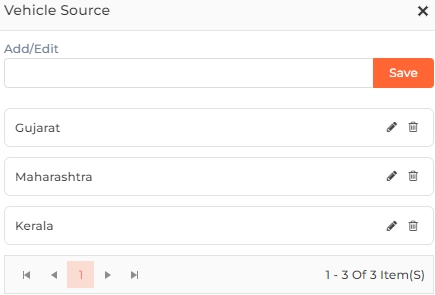
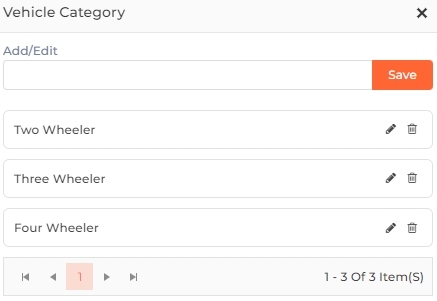
Click on the  button to manage Visit Purposes on the fly as follows:
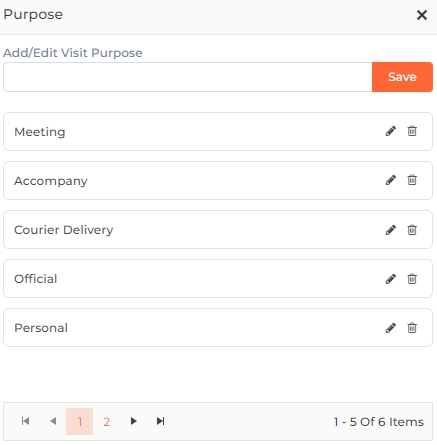
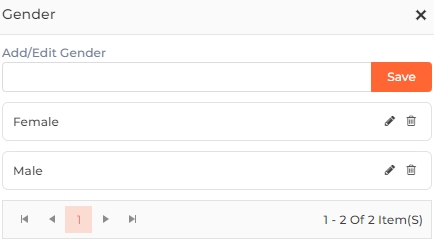
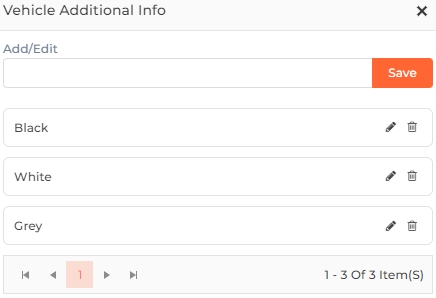
Add/Edit Visit Purpose:
To add a new Visit Purpose, enter the name of the Purpose in the given box. Click on the Save button to save the Purpose.
To edit a Visit Purpose, click on the
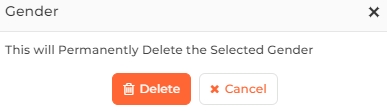
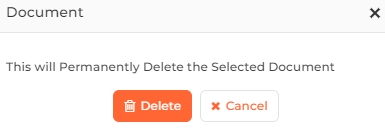
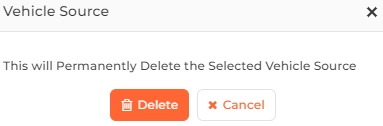
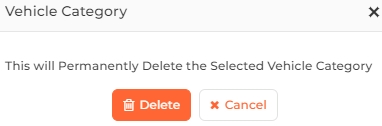
To delete a Visit Purpose, click on the
icon in its respective row. The application will ask for confirmation.
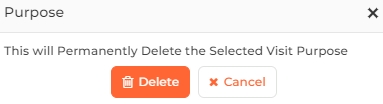
Click on the Delete button to delete the Purpose or the Cancel button to discard the action.
Recursive Day(s):
If the duration of the Visit is more than two days, you can select the specific days of the visit.
Select the checkboxes for the days on which the visit is scheduled.
Location:
Denotes the Location for the Visit.
From the dropdown list, select the location for the Visit as specified in the Visitor >> Configuration section.
Host:
Denotes the Host of the Visit.
A list of Employees who have been specified as Hosts from the Employees >> Add/Edit Employee >> Account Details section is displayed. Select the host of the Visit from the dropdown list.
Group Visit
Click on the checkbox to enable or disable the feature. A tick mark in the checkbox indicates the feature is enabled.
Enable the feature if multiple individuals are visiting. You can then specify the names of all visitors in the "Visitor Details" section.
Disable the feature if it's an individual visit.
Belongings:
Enter belongings, if any related to the Visit.
Message:
Enter a message if any related to the Visit.
Once you have entered all the details, click on the Next button to continue entering the Visitor details.
Screen Layout of Visitor Details
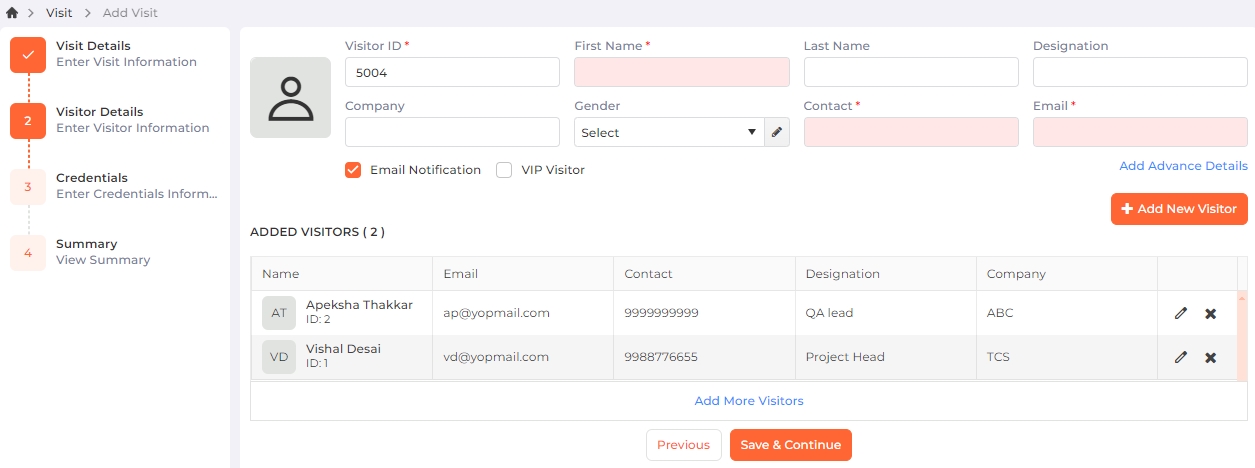
The screen is split into two sections. On the left-hand side, you'll find a sequential list of activities, with the completed / current activity highlighted for easy reference. The right-hand section enables you to input data associated with the selected activity.
Click on the image icon to upload a profile picture of the Visitor. You can either select an existing image file or capture a photo using a device camera or webcam.
ADDED VISITORS
This section saves Visitor details for the Visit. You can choose from existing Visitors or create new ones to add to the Visit.

|
NOTE For a Group Visit, it is mandatory to select one visitor as primary. To do so, check the box under "Primary Visitor" column in the list. The column will be displayed only in case of a Group Visit; otherwise, it will not be displayed.
|
Edit Visitor details by clicking on the icon on the respective row. Read more...
Please note that the details of Internal Visitors cannot be edited. Click on the  icon to remove a Visitor from the Visit.
Field Description of Visitor Details
![]() Read how to add a new Visitor to the Visit
Read how to add a new Visitor to the Visit


 button to save the new Visitor details. The new Visitor will also be added to the ADDED VISITORS list.
![]() Read how to add existing Visitor to the Visit
Read how to add existing Visitor to the Visit
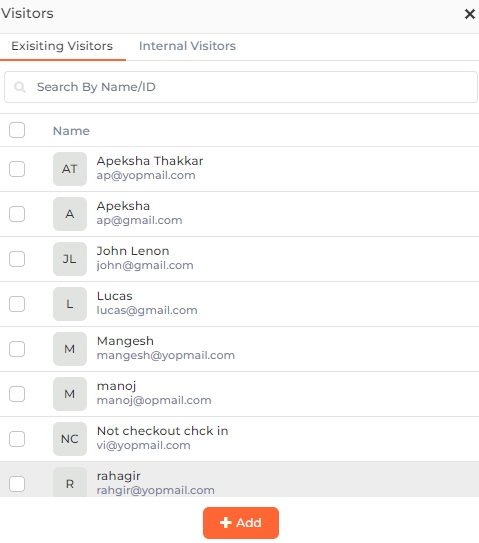
Once you have entered all the details, click on the Save & Continue button to save the Visit and Visitor details, and continue entering the Visitor credentials. Click on Previous button to go back the previous screen.
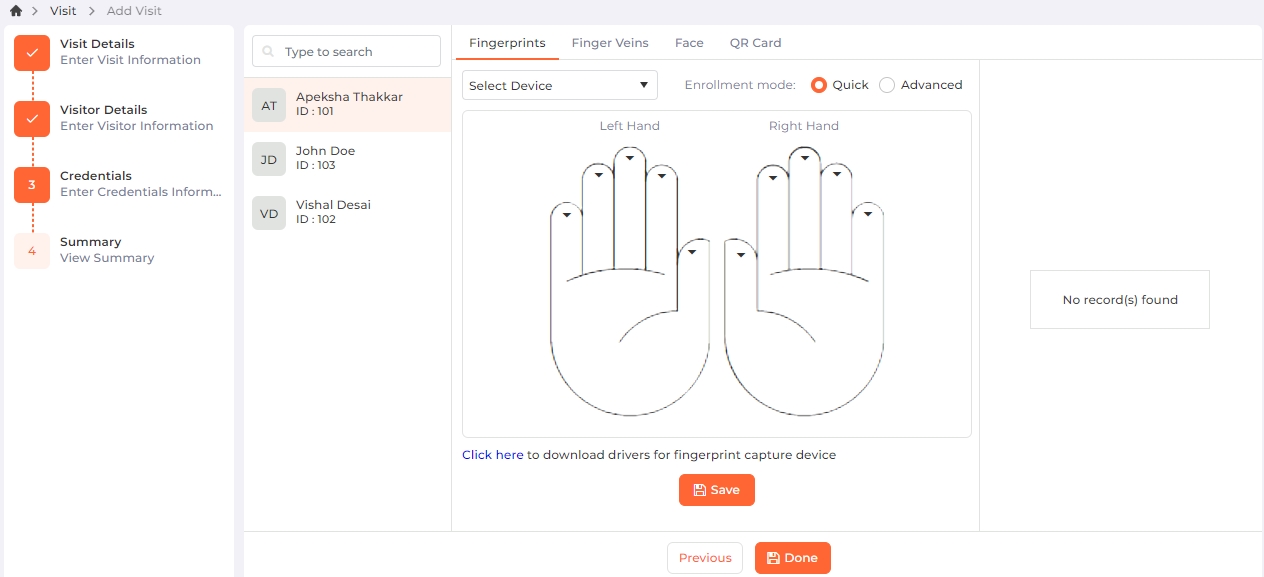
Screen Layout of Credentials
Field Description of Credentials
The screen is split into three sections. On the left-hand side, you'll find a sequential list of activities, with the completed / current activity highlighted for easy reference.
Next, is the list of Visitors added from the "Visitor Details" section.
|
NOTE
|
The right-hand section enables you to input the biometrics and access card information of the selected Visitor as follows:
Select Device:
Select the Device on which enrollment has to be done from the dropdown list.
|
NOTE Enrollment cannot continue unless a Device is selected.
|
Next, click on the type of enrollment that has to be done: Fingerprints, Finger Veins, Face, or QR Cards.
Enrollment Mode:
Select one of the following options to enroll the selected Visitor:
Quick
Click on this option for a quick enrollment. This is the default selected option.
Advanced
Click on this option to enable advance enrollment.
STEP 1:
Hover the cursor over the two hands and click on the finger which you want to enroll for the Visitor. A “Place Finger” message will be displayed. Ask the Visitor to place their finger on the device.
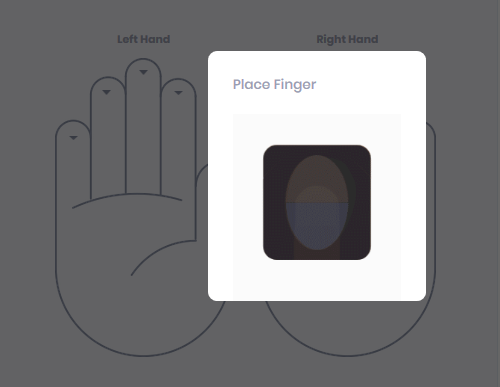
In case of Advanced enrollment, the application will ask the Visitor to place the selected finger 3 times. Each time the IXM WEB will notify the Visitor by displaying the “Place Finger” message.
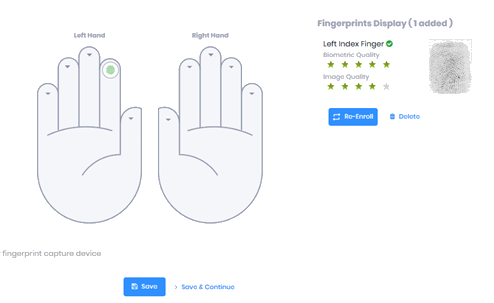
STEP 2:
In case of Quick enrollment, once the finger is scanned, the device will show a “Remove Finger” message and the fingerprint image will be displayed on the right side of the window along with the image quality.
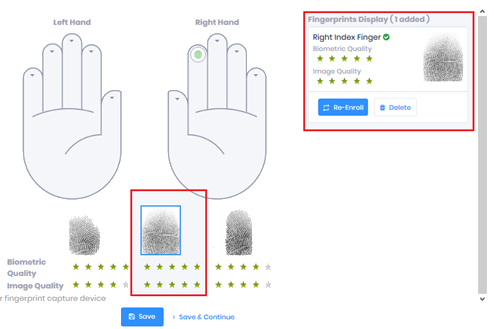
In case of Advanced enrollment, once all 3 attempts are captured, IXM WEB will display the captured fingerprint image of each attempt and select the capture with the best quality for each finger.
STEP 3:
After enrollment of all the required fingers, click on the Save button to save details in the IXM WEB database.
Follow the steps mentioned below:
STEP 1:
Hover the cursor over the two hands and click on the finger which you want to enroll for the Visitor. A “Place Finger” message will be displayed. Ask the Visitor to place their finger on the device.
STEP 2:
Once the finger is scanned, the device will show a “Remove Finger” message and the fingerprint image will be displayed on the right side of the window along with the image quality.

|
NOTE Invixium recommends using the index and middle fingers for enrollment, and that each employee is enrolled with a quality of at least 4 stars for all biometrics. To achieve this, it is very important to place the finger so that it is completely straight and the tip of the finger rests on the guide at the back of the finger vein cavity. |
STEP 3:
After enrollment of all the required fingers, click on the Save button to save details in the IXM WEB database.
To enroll face from a device, follow the steps mentioned below:
STEP 1:
Click on Enroll face to start face enrollment.
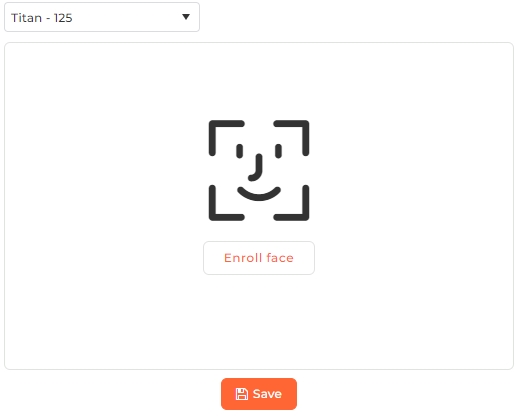
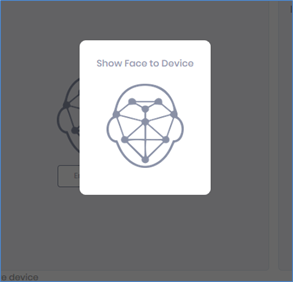
STEP 2:
The application will show a "Show Face to Device" message. The Visitor should look straight at the camera when enrolling in their face. Avoid looking in other directions or turning your head during enrollment. Make sure the entire face is within the frame corners, which will turn green upon correct positioning.
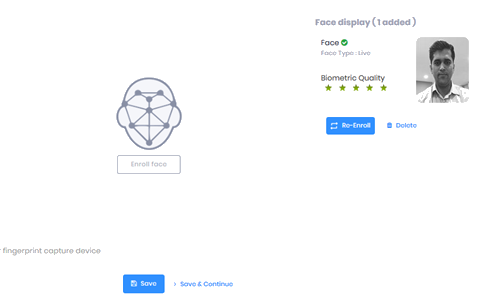
STEP 3:
Once the device captures a face, the Visitor's face will be displayed on the right side of the application along with the Biometric Quality and Face Type (Live or Spoof).
|
NOTE Invixium recommends saving Employees with face type as “Live” for optimal performance with the liveness detection setting turned ON.

|
STEP 4:
After successful enrollment of the face, click on the Save button to save details in the IXM WEB database.
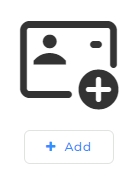
If Card is being entered for the first time, the application will display following screen:
|
Click on Add button to add a Card. |
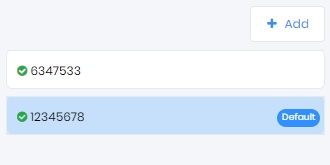
In case Card(s) are already saved, the application will display a list of Cards on the right side of the screen as follows -
|
Click on Add button to add a new Card.
Or click on the respective Card Number to edit or delete the Card. You can also make it the default Card or add a Digital Card with same number. |
Following screen will be displayed to enter Card details -
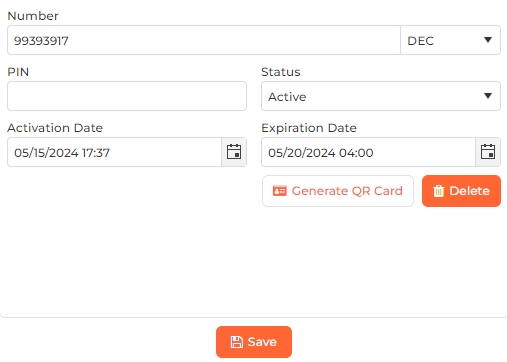
Number:
Enter the Card Number.
PIN:
Enter the PIN of the QR Card.
Status:
Select the Status of the Card from the dropdown list as follows -
-
Active
-
Inactive
-
Lost
-
Stolen
Only "Active" Cards will be granted access by the Device. Rest will not be granted access and an appropriate message will be displayed by the application.
Activation Date Time:
It denotes the date and time from when the Card will be active.
Click on the calendar icon to select the date and time icon to select the time. After this start date and time, the Card will become active for the Visitor. The Visitor using this Card will be granted access by the Device after this date and time. If it is set to blank, then the Device will not consider any Activation date and time for the Card.
Expiry Date Time:
It denotes the Expiry date and time of the Card.
Click on the calendar icon to select the date and time icon to select the time. The Card will be active for the Visitor till this date and time. Once this date and time passes, the Card will expire, and the Device will deny access to the Visitor. If it is set to blank, then the Device will not consider any Expiry date and time for that Card.
Click on Generate QR Card button if you have the number but do not have the QR for that number. The application will automatically generate a QR for the entered Number and display it as follows -
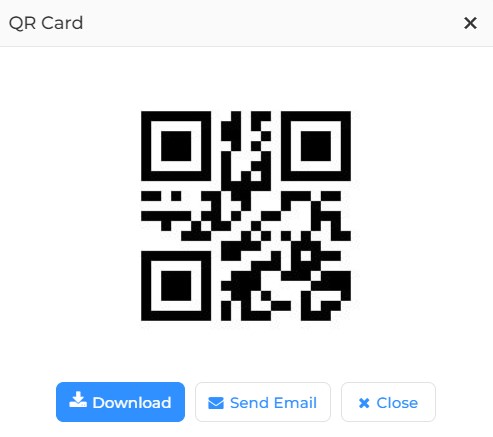
You can download or email the QR by clicking on the respective button.
Once you have entered all the details, click on the Save button to save details in the IXM WEB database. Upon doing so, IXM WEB will display a success or failure message.
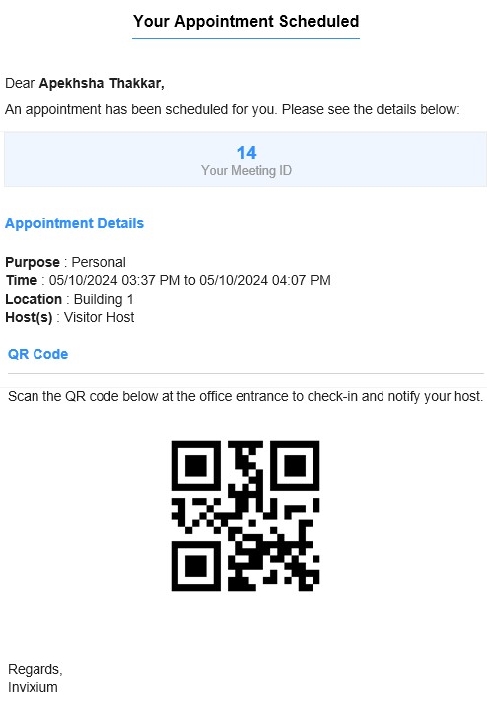
Screen Layout of Summary

Field Description of Summary
Information about the new Visit will be displayed here.
Click on the Add New button to add another Visit or click on the Done button to complete the process.