|
|
VMS for the Administrator
In the Visitor Management System, an administrator can configure the system settings, manage visits, manage visitor profiles and watchlist and record check-ins and check-outs of the visitors.
Before creating Visits, it is necessary to configure the settings for the VMS, and define the company’s structure in terms of its location. The following screen will be displayed:
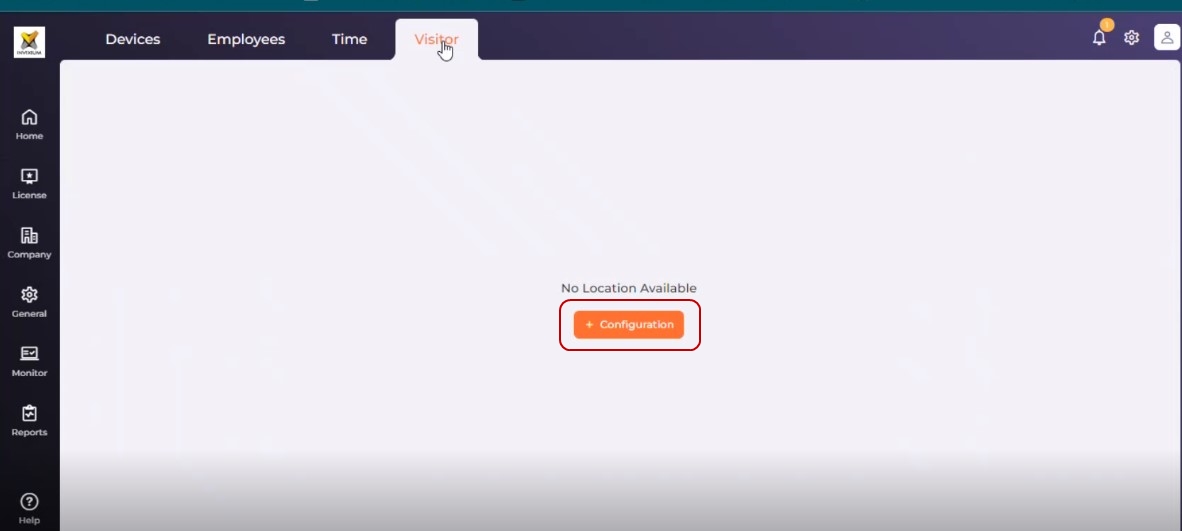
Click on the Configuration button to configure settings and location. Read more…
|
NOTE You can change the settings anytime by clicking the Configuration button in the Quick Action panel.
|
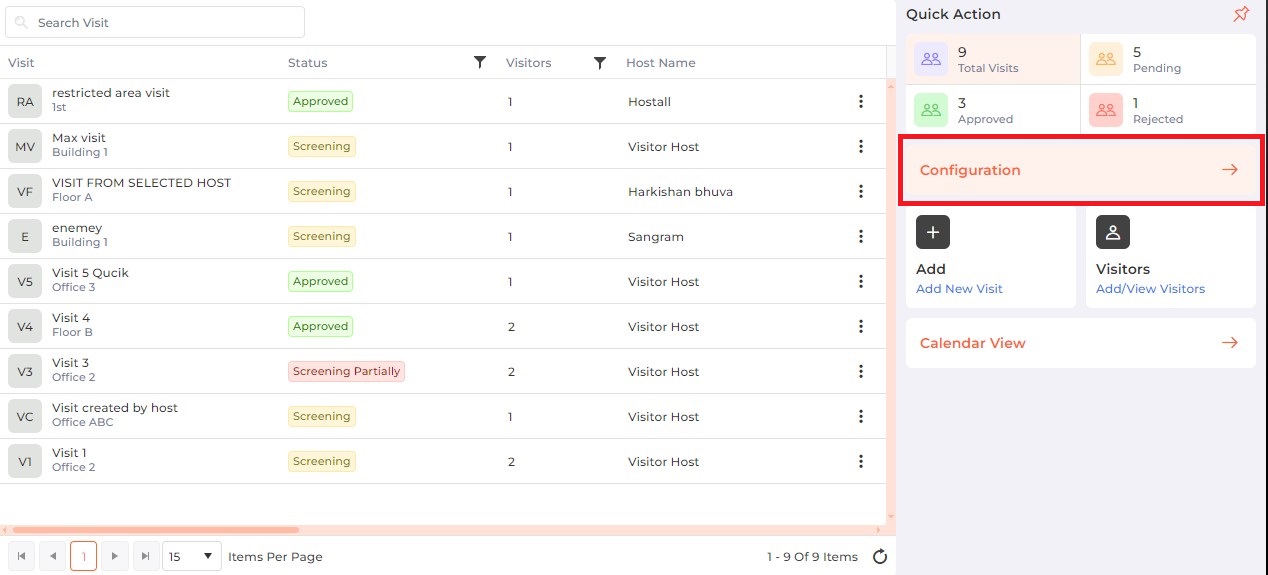
A list of already defined Visits and their status will be displayed as shown below. If no visits have been added yet, this list will be empty.
Below is the list of visit statuses and their meanings:
| Status | Meaning |
| Screening | Visit / Visitor screening is undergoing at security level |
| Access Level | Visit to location that requires access approval or has restricted entry |
| Approved |
|
| Visit Cancelled | Visit cancelled by the administrator / host |
| Host Approval | Visit pending to be approved by the host |
For your convenience, you have the option to switch between List view, Monthly view, or Day view. Know how to switch...
Search:
You can search for a particular Visit by entering its full or partial name. Once entered, press the <ENTER> key. The list will be refreshed with Visits matching the entered name.
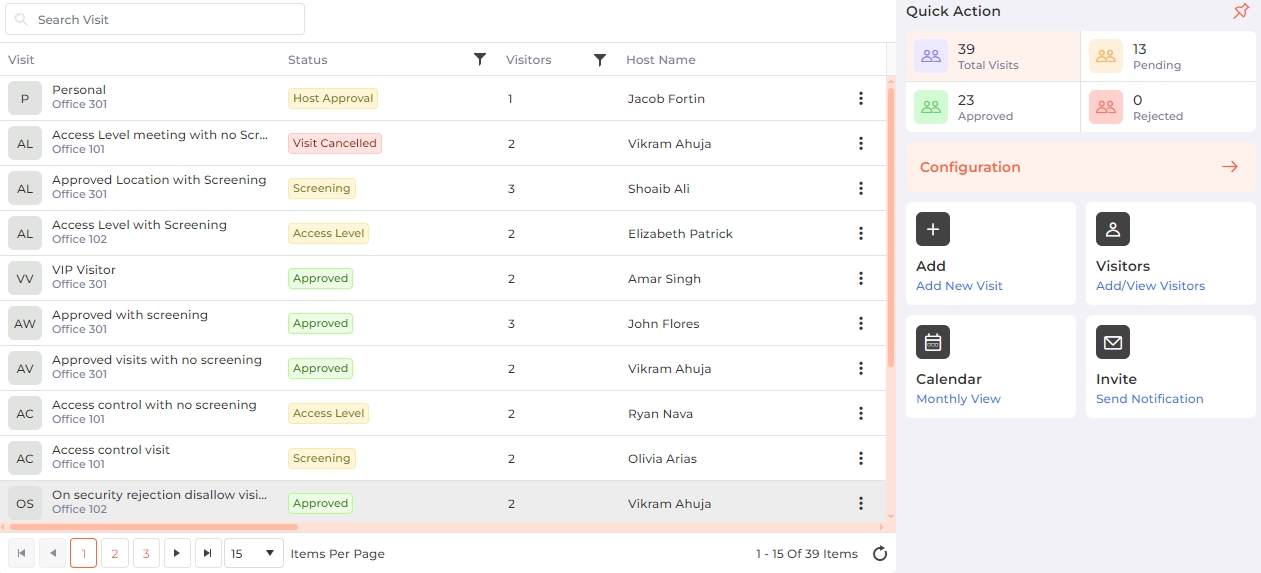
The Quick Action panel on the right side of the screen provides information regarding total visits, pending visits, approved visits, and rejected visits. Click on the respective tile to refresh the list accordingly. The panel also provides convenient access to perform certain functions within the Visitor module.
In the Quick Action panel, click on the Add (Add New Visit) button to add a new Visit. A Visit consists of visit details, visitor details, and their respective credentials.
To edit a Visit, hover the mouse over the Visit row and click on the  icon. Note that a Visit can be edited until it has not been approved or has not passed its End Duration. The edit icon will not appear for the approved or expired visits.
In the list, click on the  icon at the end of the respective row and select "View" from the menu to see details of the Visit. Alternatively, click on the first column of the row to view the details.
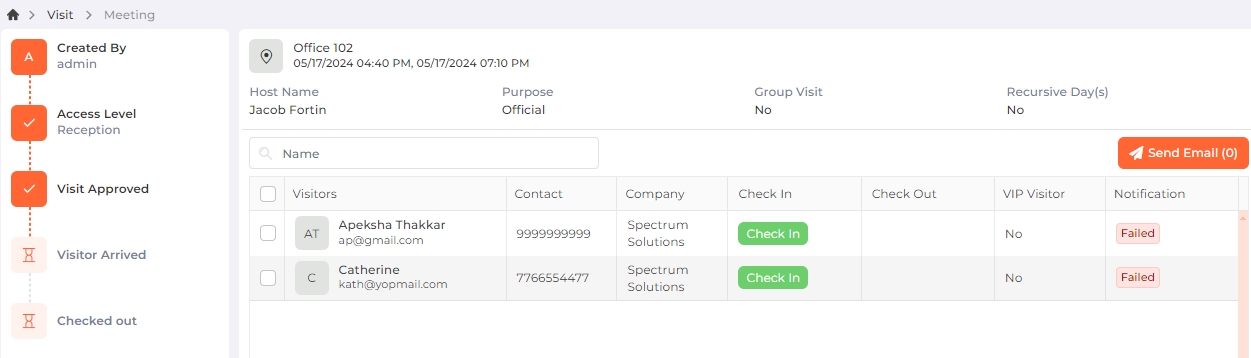
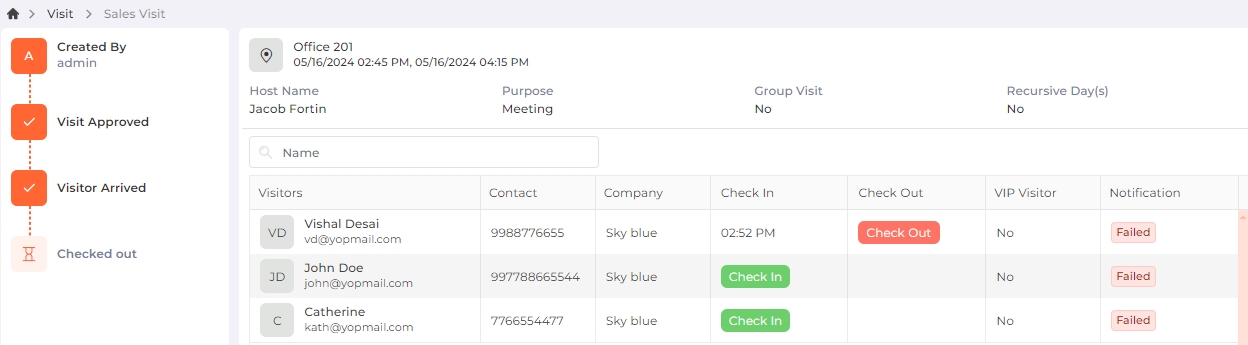
The screen is split into two sections. On the left-hand side, you'll find a sequential list of activities, with the completed / current activity highlighted for easy reference. The right-hand section displays the visit information including the visitor details alongside their check-in and check-out status.
Using this section, an administrator can also record the Visitor's Check-in and Check-out time for the approved visit. The check-in and check-out times will be displayed if the administrator or the receptionist has recorded them for the visitor.
|
NOTE The "Access Level" activity will be displayed only if the Visit requires access level approval. In this case, the administrator cannot check-in or check-out visitor(s) until the visit is approved by the security.
|
In the list, click on the icon at the end of the respective row and select "Cancel Visit" from the menu. The application will ask for confirmation:
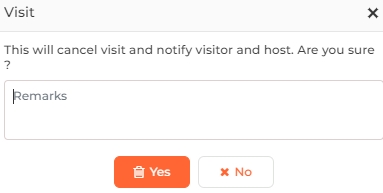
Enter remarks, if any for cancelling the Visit.
Click on the Yes button to continue cancelling the Visit. An email to the Visitor and the Host will be sent informing the same. The status of the Visit will be updated as "Visit Cancelled" in the list. Click on the No button to discard the action.
|
NOTE A Visit can not be cancelled if,
|
In the list, click on the icon at the end of the respective row and select "Delete" from the menu. The application will ask for confirmation:
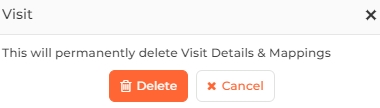
Click on the Delete button to delete the selected Visit. The deleted Visit will be removed from the list. Click on the Cancel button to discard the action.
|
NOTE A visit cannot be deleted if security clearance has been completed for any of the visitors.
|
In the Quick Action panel, click on the Visitors (Add / View Visitors) button to add a new Visitor.
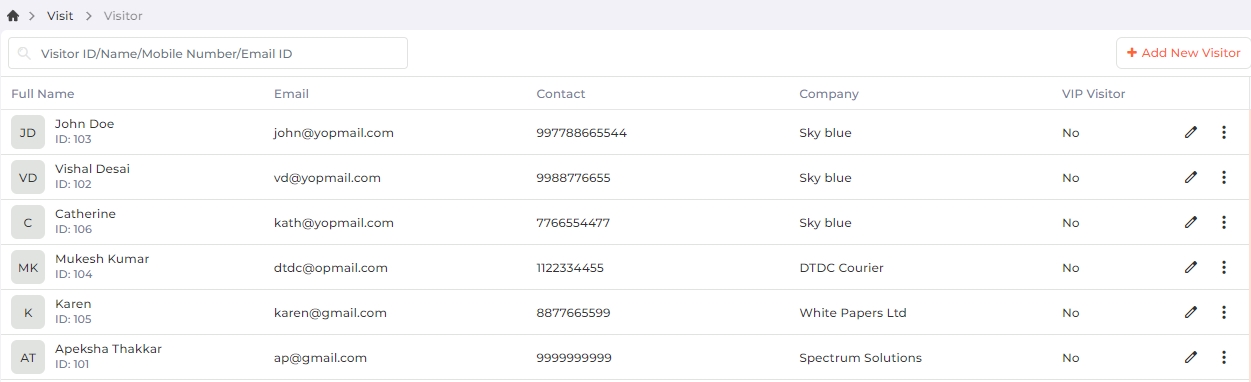
A list of already defined Visitors will be displayed as shown below. If no visitors have been added yet, this list will be empty.
Search:
You can search for a particular Visitor by entering their full or partial ID / name / mobile number / Email ID. Once entered, press the <ENTER> key. The list will be refreshed with Visitors matching the entered data.
To add a new Visitor, click on the Add New Visitor button on the top right side of the list.
To edit a Visitor, click on the icon in the last column of the respective row of the Visitor.
The following screen will be displayed:
Screen Layout of Add / Edit a Visitor
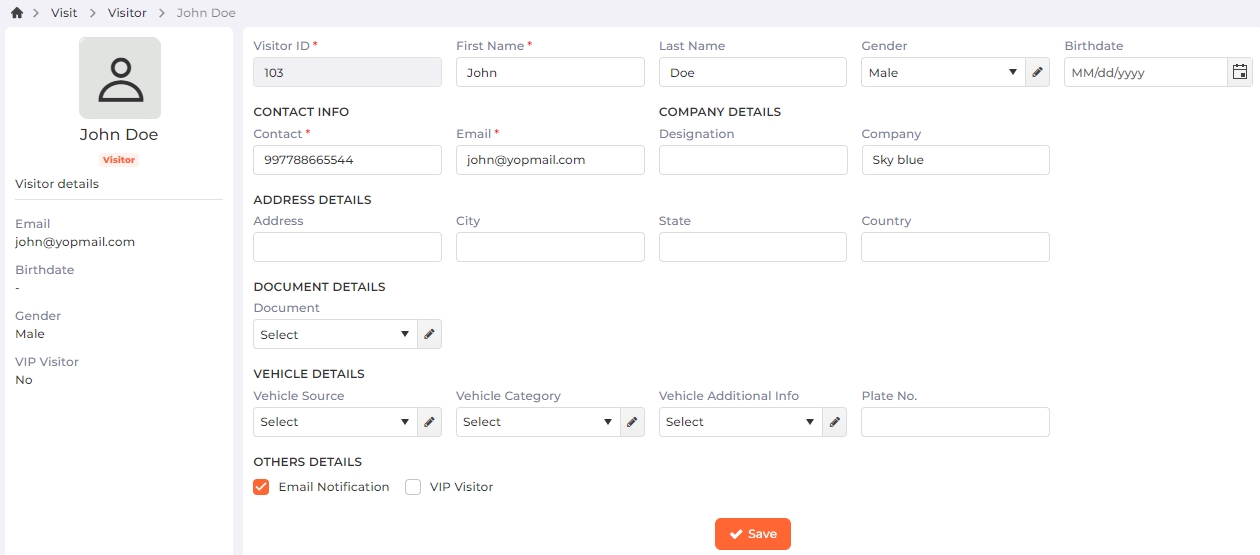
Field Description of Add / Edit a Visitor
Visitor ID:
Denotes the Visitor's ID.
While adding a new Visitor, enter the Visitor's ID. By default, the value entered in the "ID Prefix Value" field from the Visitor >> Configuration section will be displayed. You can change it.
While editing the Visitor, the ID can not be changed.
First Name:
Enter the first name of the Visitor.
Last Name:
Enter the last name of the Visitor.
Gender:
Select the gender of the Visitor from the dropdown list.
Click on the button to manage Gender on the fly as follows:
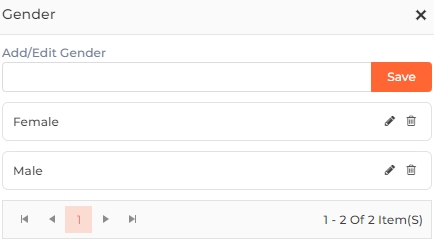
Add/Edit Gender:
To add a new Gender, enter the name of the Gender in the given box. Click on the Save button to save the Gender.
To edit a Gender, click on the
To delete a Gender, click on the
icon in its respective row. The application will ask for confirmation.
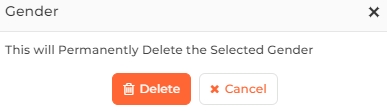
Click on the Delete button to delete the Gender or the Cancel button to discard the action.
Birthdate:
Enter or select the Visitor's date of birth.
CONTACT INFO
Contact:
Enter the contact number of the Visitor.
Email:
Enter the email address of the Visitor.
COMPANY DETAILS
Designation:
Enter the designation of the Visitor.
Company:
Enter the company name of the Visitor.
ADDRESS DETAILS
Address:
Enter the address of the Visitor.
City:
Enter the city of the Visitor.
State:
Enter the state of the Visitor.
Country:
Enter the country of the Visitor.
DOCUMENT DETAILS
Document:
Select the Document type of the Visitor from the dropdown list.
Click on the button to manage Documents on the fly as follows:
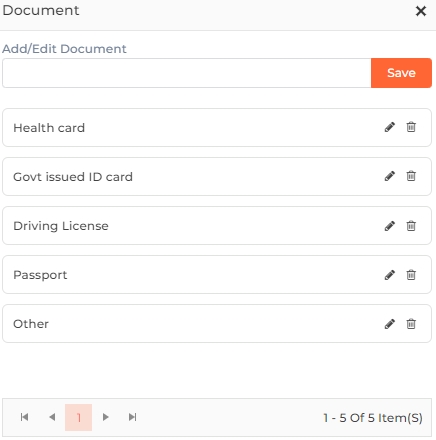
Add/Edit Document:
To add a new Document, enter the name of the Document in the given box. Click on the Save button to save the Document.
To edit a Document, click on the
To delete a Document, click on the
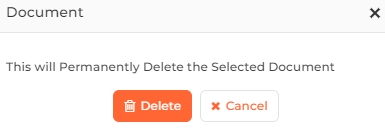
Click on the Delete button to delete the Document or the Cancel button to discard the action.
Document Number:

This option will be displayed if a Document type is selected.
Enter the Document Number.
Document Issued On:
This option will be displayed if a Document type is selected.
Enter or select the date on which the Document was issued.
Document Expires On:
This option will be displayed if a Document type is selected.
Enter or select the date on which the Document will expire.
Document File:
This option will be displayed if a Document type is selected.
Click on the Upload button to upload the Document file manually from its location.
You can upload only JPG, PNG, and PDF files.
Upon successful upload, the file name will be displayed. You can remove the attached file by clicking on the x icon.
Alternatively, you can scan the document by clicking on the Scan button. Please note that this OCR feature is available only if the "IXM Integration Service" has been installed. Once the document is scanned, all the information will be displayed automatically in the respective boxes.
VEHICLE DETAILS
Vehicle Source:
Select the Visitor's vehicle source from the dropdown list.
Click on the
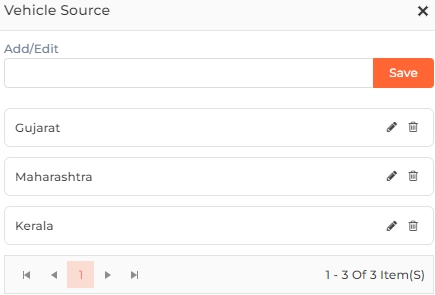
Add/Edit:
To add a new Vehicle Source, enter the name of the Vehicle Source in the given box. Click on the Save button to save the Vehicle Source.
To edit a Vehicle Source, click on the
To delete a Vehicle Source, click on the
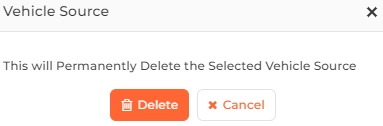
Click on the Delete button to delete the Vehicle Source or the Cancel button to discard the action.
Vehicle Category:
Select the Category of the Vehicle from the dropdown list.
Click on the
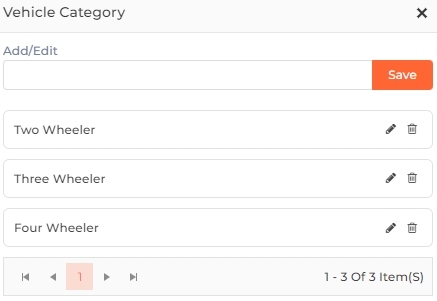
Add/Edit:
To add a new Vehicle Category, enter the name of the Vehicle Category in the given box. Click on the Save button to save the Vehicle Category.
To edit a Vehicle Category, click on the
To delete a Vehicle Category, click on the
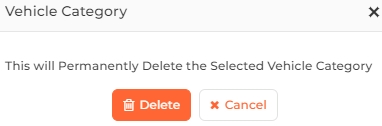
Click on the Delete button to delete the Vehicle Category or the Cancel button to discard the action.
Vehicle Additional Info:
Select the additional information about the Vehicle from the dropdown list.
Click on the
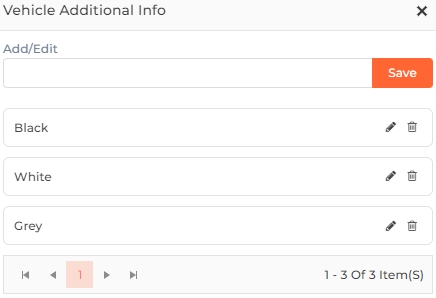
Add/Edit:
To add new information, enter the name of the information in the given box. Click on the Save button to save the information.
To edit information, click on the
To delete an information, click on the

Click on the Delete button to delete the information or the Cancel button to discard the action.
Plate No.:
Enter the plate number of the vehicle.
OTHER DETAILS
Email Notification
Click on the checkbox to enable or disable the feature. A tick mark in the checkbox indicates the feature is enabled.
Enabling this feature will automatically send an email to the Visitor on the provided email address when a visit is scheduled. The email contains information such as the Meeting ID or QR Code that is required for security clearance of the Visitor, purpose of visit, date and time of appointment, location, and host. In case the visit is rescheduled, the revised schedule will be emailed.
View sample Email
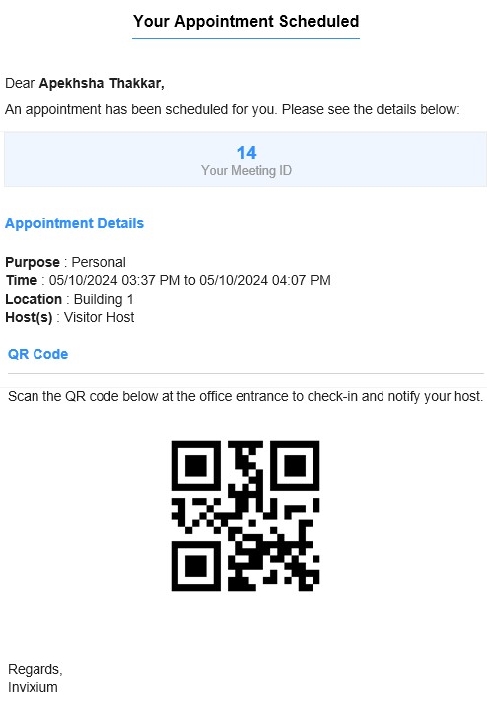
If this feature is disabled, an email notification will not be sent to the Visitor.
VIP Visitor
Click on the checkbox to enable or disable the feature. A tick mark in the checkbox indicates the feature is enabled.
If this feature is enabled, the Visitor will be considered a VIP Visitor.
If this feature is disabled, the Visitor will not be considered a VIP Visitor.
Once you have entered all the details, click on the Save button to save the Visitor details.
In the list, click on the icon at the end of the respective row and select "View" from the menu to see details of the Visitors. Alternatively, click on the first column of the row to view the details.
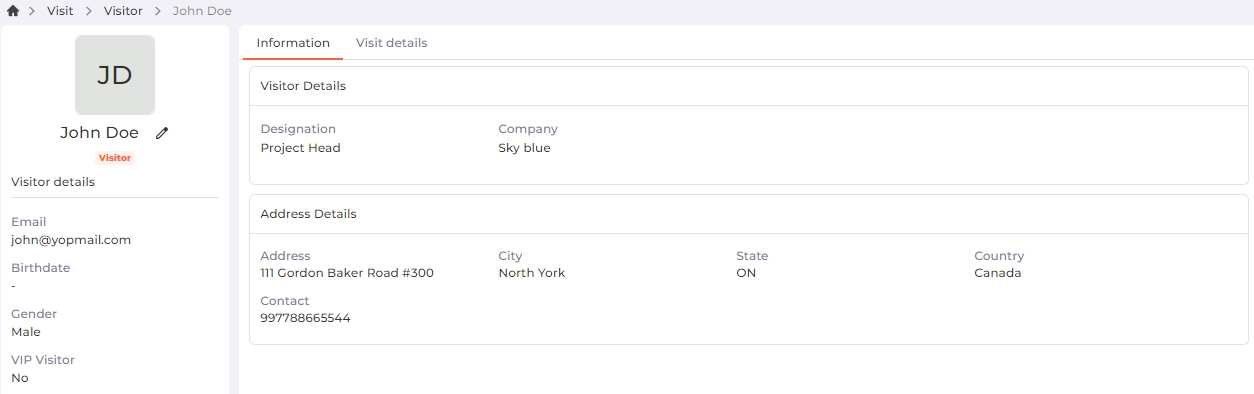
The "Information" tab displays the details of the selected Visitor.
The "Visit details" tab displays information about the visits involving the selected Visitor.
In the list, click on the icon at the end of the respective row and select "Delete" from the menu. The Visitor will be deleted from the database and removed from the list.
|
NOTE A Visitor cannot be deleted if they are part of a visit.
|
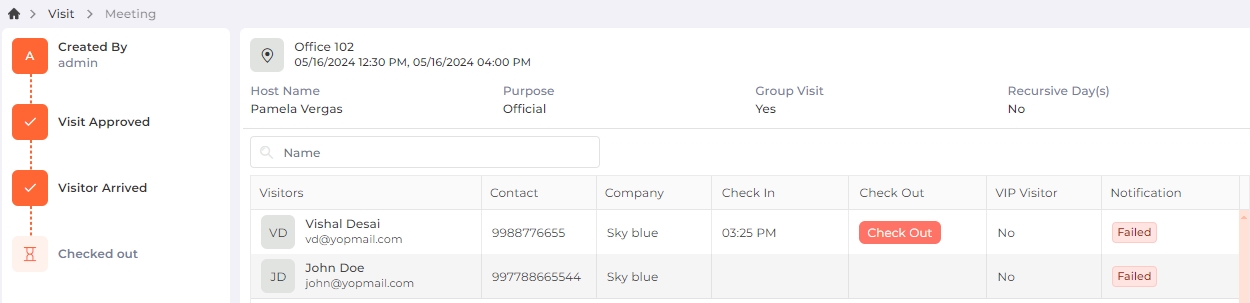
In the list, click on the icon at the end of the respective row and select "View" from the menu to see details of the Visit. Alternatively, click on the first column of the row to view the details.
If the visit's scheduled start date and time, along with any entry tolerance period, have passed, a "Check-in" button will appear for the visitor(s) as shown below:
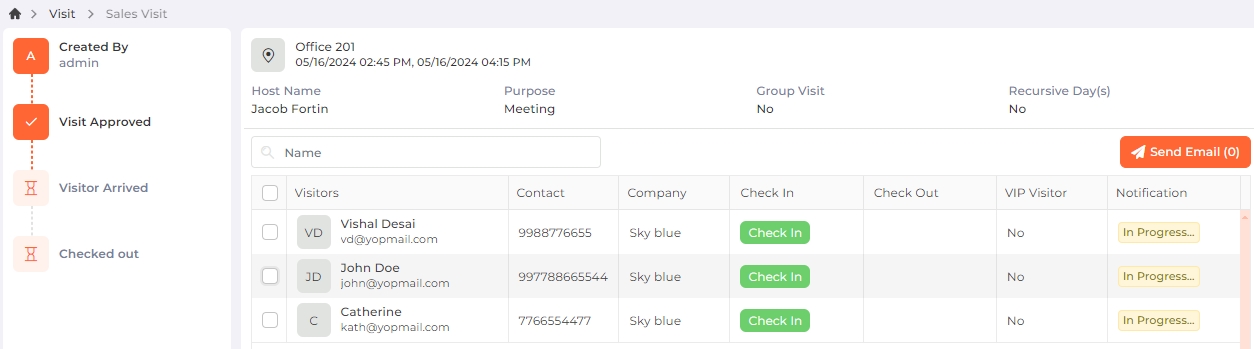
Check the boxes of the desired visitor(s) and then click on the Send Email button to send them an email notification regarding the visit.
Click on the Check-in button to record the check-in time of each visitor. The check-in time will be displayed instantly.
If the administrator or receptionist has previously checked-in the visitor, the check-in time will be displayed as follows:
|
NOTE For Group Visits,
|

In the list, click on the icon at the end of the respective row and select "View" from the menu to see details of the Visit. Alternatively, click on the first column of the row to view the details.
If the visitor has checked-in, a "Check-out" button will appear as shown below:
The "Check-out" button will remain visible till the visit's scheduled end date and time, along with any exit tolerance period.
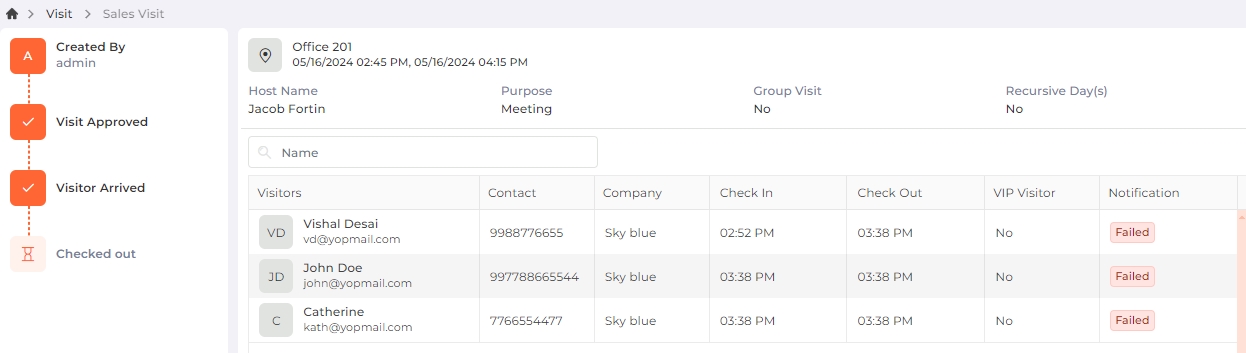
Click on the Check-out button to record the check-out time of each visitor. The check-out time will be displayed instantly.
If the administrator or receptionist has previously checked-out the visitor, the check-out time will be displayed as follows:
|
NOTE For Group Visits,
|
On the Quick Action panel, click on the Calendar tile to switch to monthly view or day view.
By default, the monthly view will be displayed as follows:

To access the Day view, click on the Day option located in the top left corner of the screen. The view is displayed as follows:
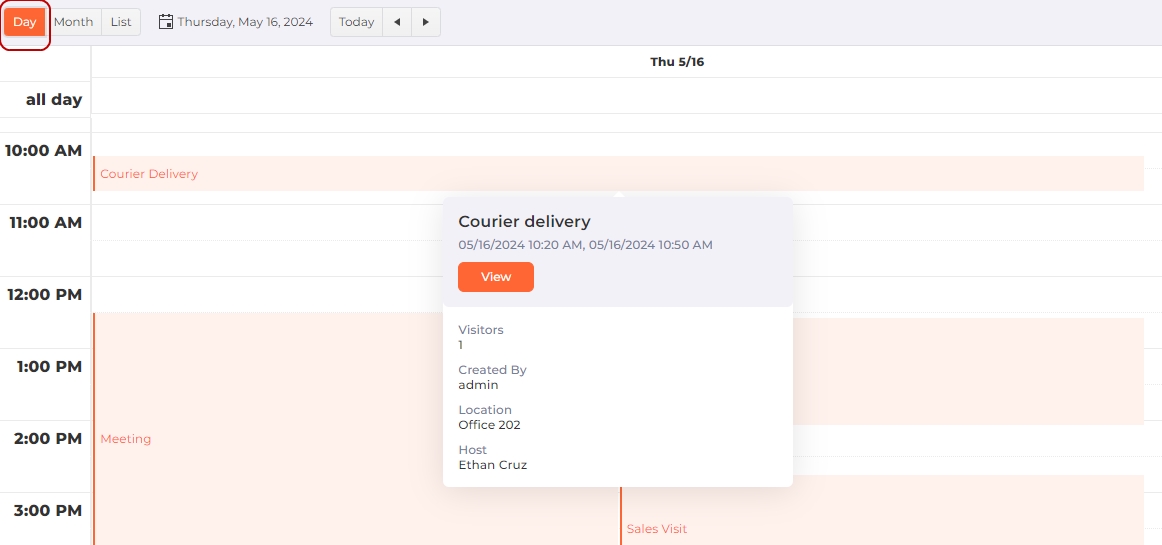
In both views, hover over a particular day / time for the visit summary or click on the View button for the visit details.
Additionally, you can create a visit for the current or future date from the Month and Day views. In the Month view, double-click on the current / future date. In the Day view, double-click on a time later than the current time.
You can go back to the List view by clicking on the List option located in the top left corner of the screen.
On the Quick Action panel, click on the Invite tile to send an email notification. The following screen will be displayed:
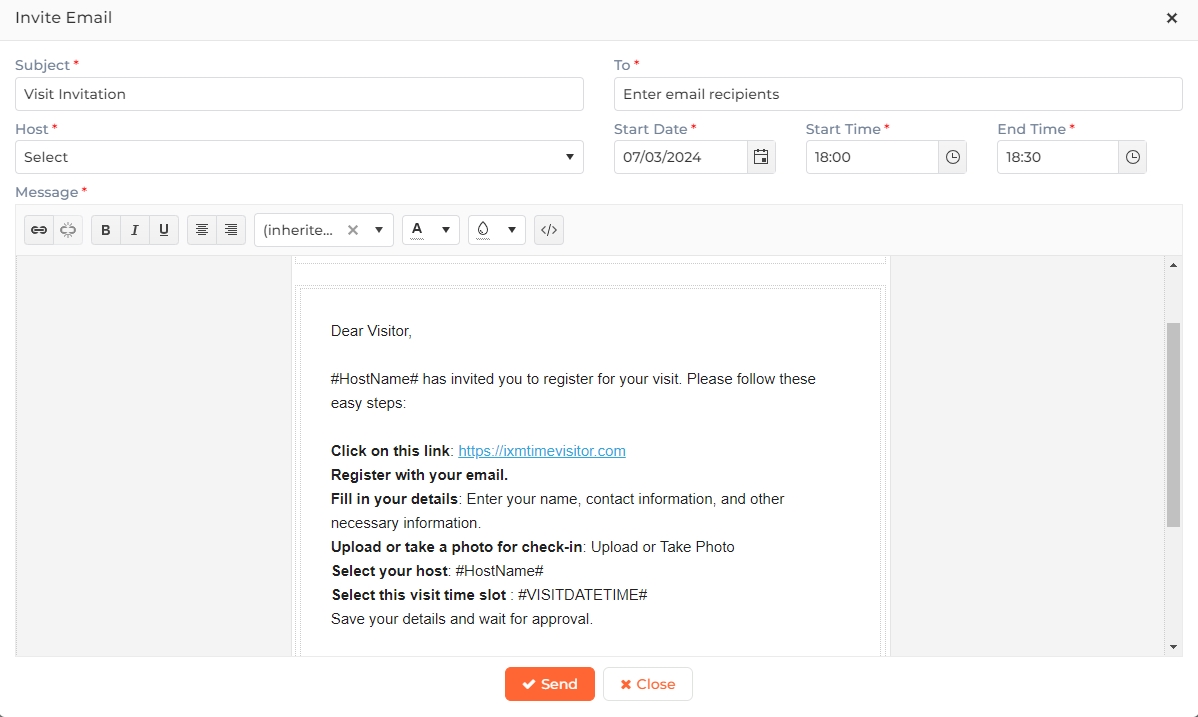
Subject:
Enter the subject of the Email. A default message is displayed that can be changed.
To:
Enter or select the email address of the recipient(s).
Host:
A list of Employees who have been specified as Hosts from the Employees >> Add/Edit Employee >> Account Details section is displayed. Select the host of the Visit from the dropdown list.
Start Date:
Enter or select the starting date for the Visit.
Start Time:
Enter or select the ending date for the Visit.
End Time:
Enter or select the ending time for the Visit. By default, the visit duration is set for half an hour.
Message:
Enter the message. A default message template is displayed that can be changed.
Click on the Send button to send the Email notification to the recipients. Click on the Close button to discard the action.
|
NOTE To send emails, Email Settings should be first configured from System Settings >> Notifications >> SMTP Settings section.
|